Materials (Layers)
How materials are stacks of layers that blend top-down, the thirteen layer kinds, and what changes rebuild versus apply live.
A Volux material is a stack of layers, not a single surface color. Each layer contributes something — a base shading response, a texture, a procedural pattern, a rim glow — and the stack composites top-down like a photo editor. This page explains how the stack works, the thirteen layer kinds, and the one distinction worth learning: which edits apply instantly and which rebuild the material.
The stack and how it blends
Select any mesh and scroll its panel to the Material section. Every new object starts with two layers: Lighting (how the surface responds to light) and Color (a flat base tint). From there you add more.
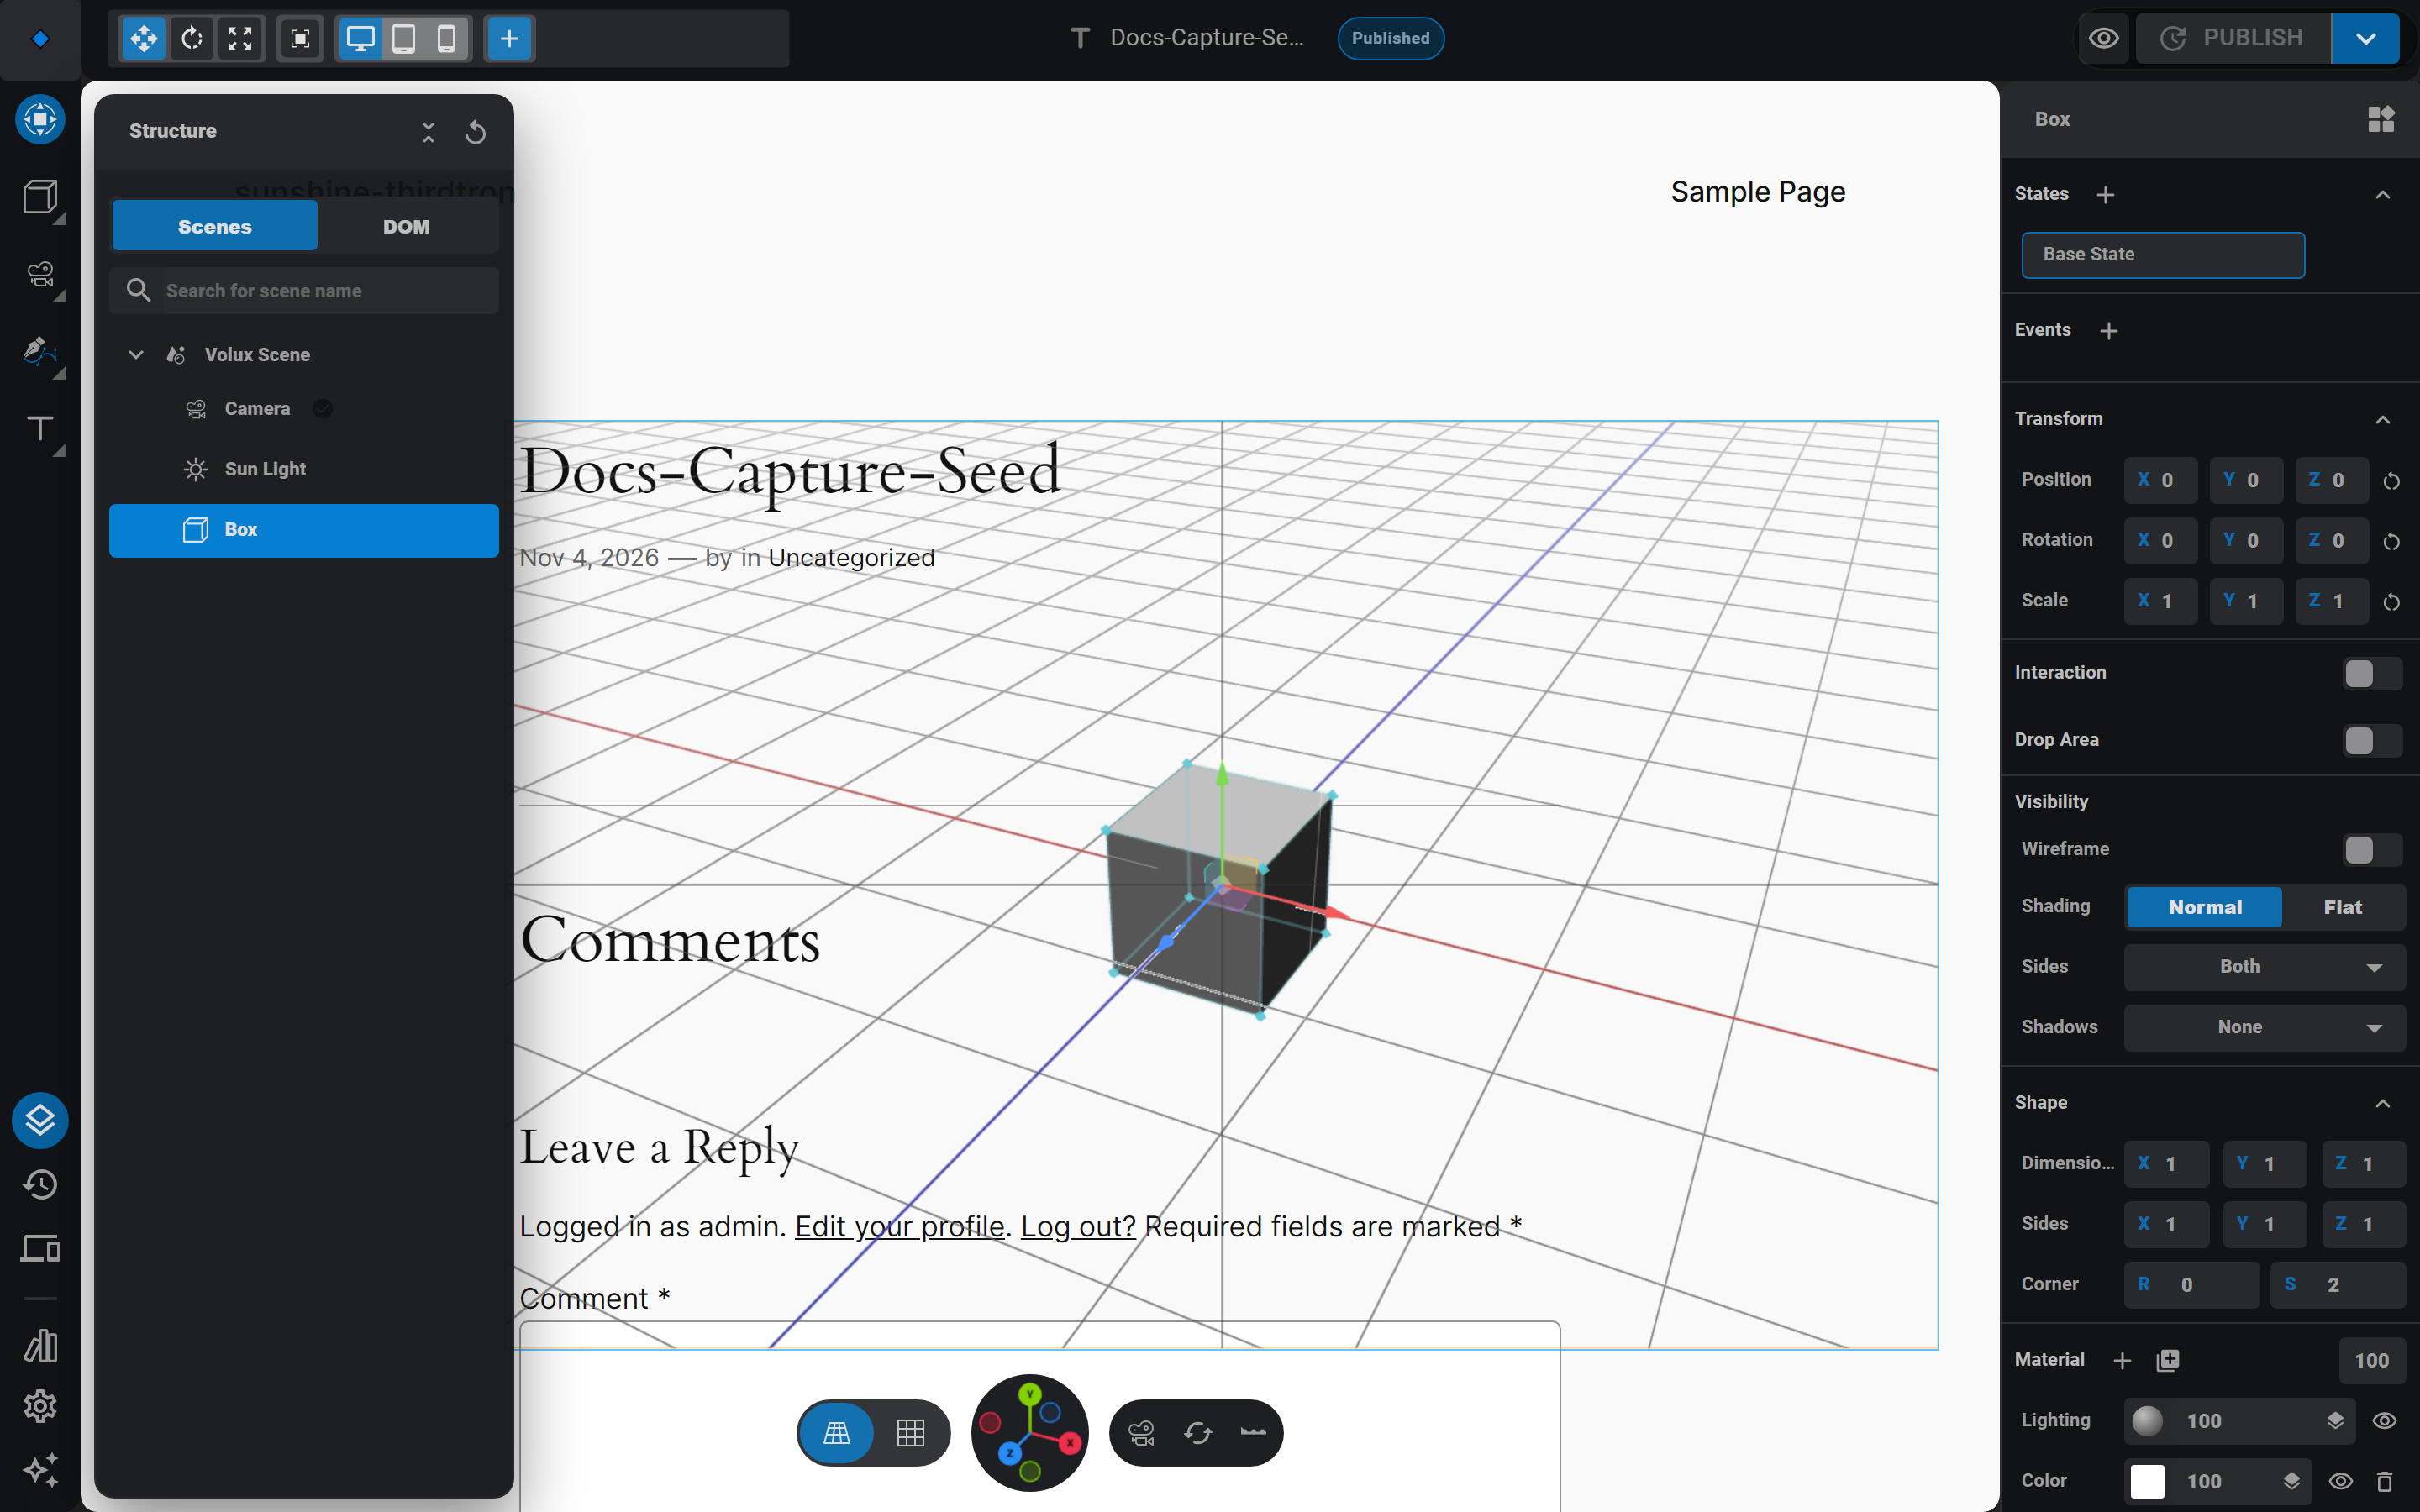
The layers blend top-down. Each layer mixes over the result of the layers beneath it, weighted by its opacity and its blend mode — Normal, Multiply, Screen, or Overlay. Drag a row's handle to reorder the stack; toggle a layer's eye icon to switch its contribution off without deleting it.
The thirteen layer kinds
Click + in the section header to add a layer:
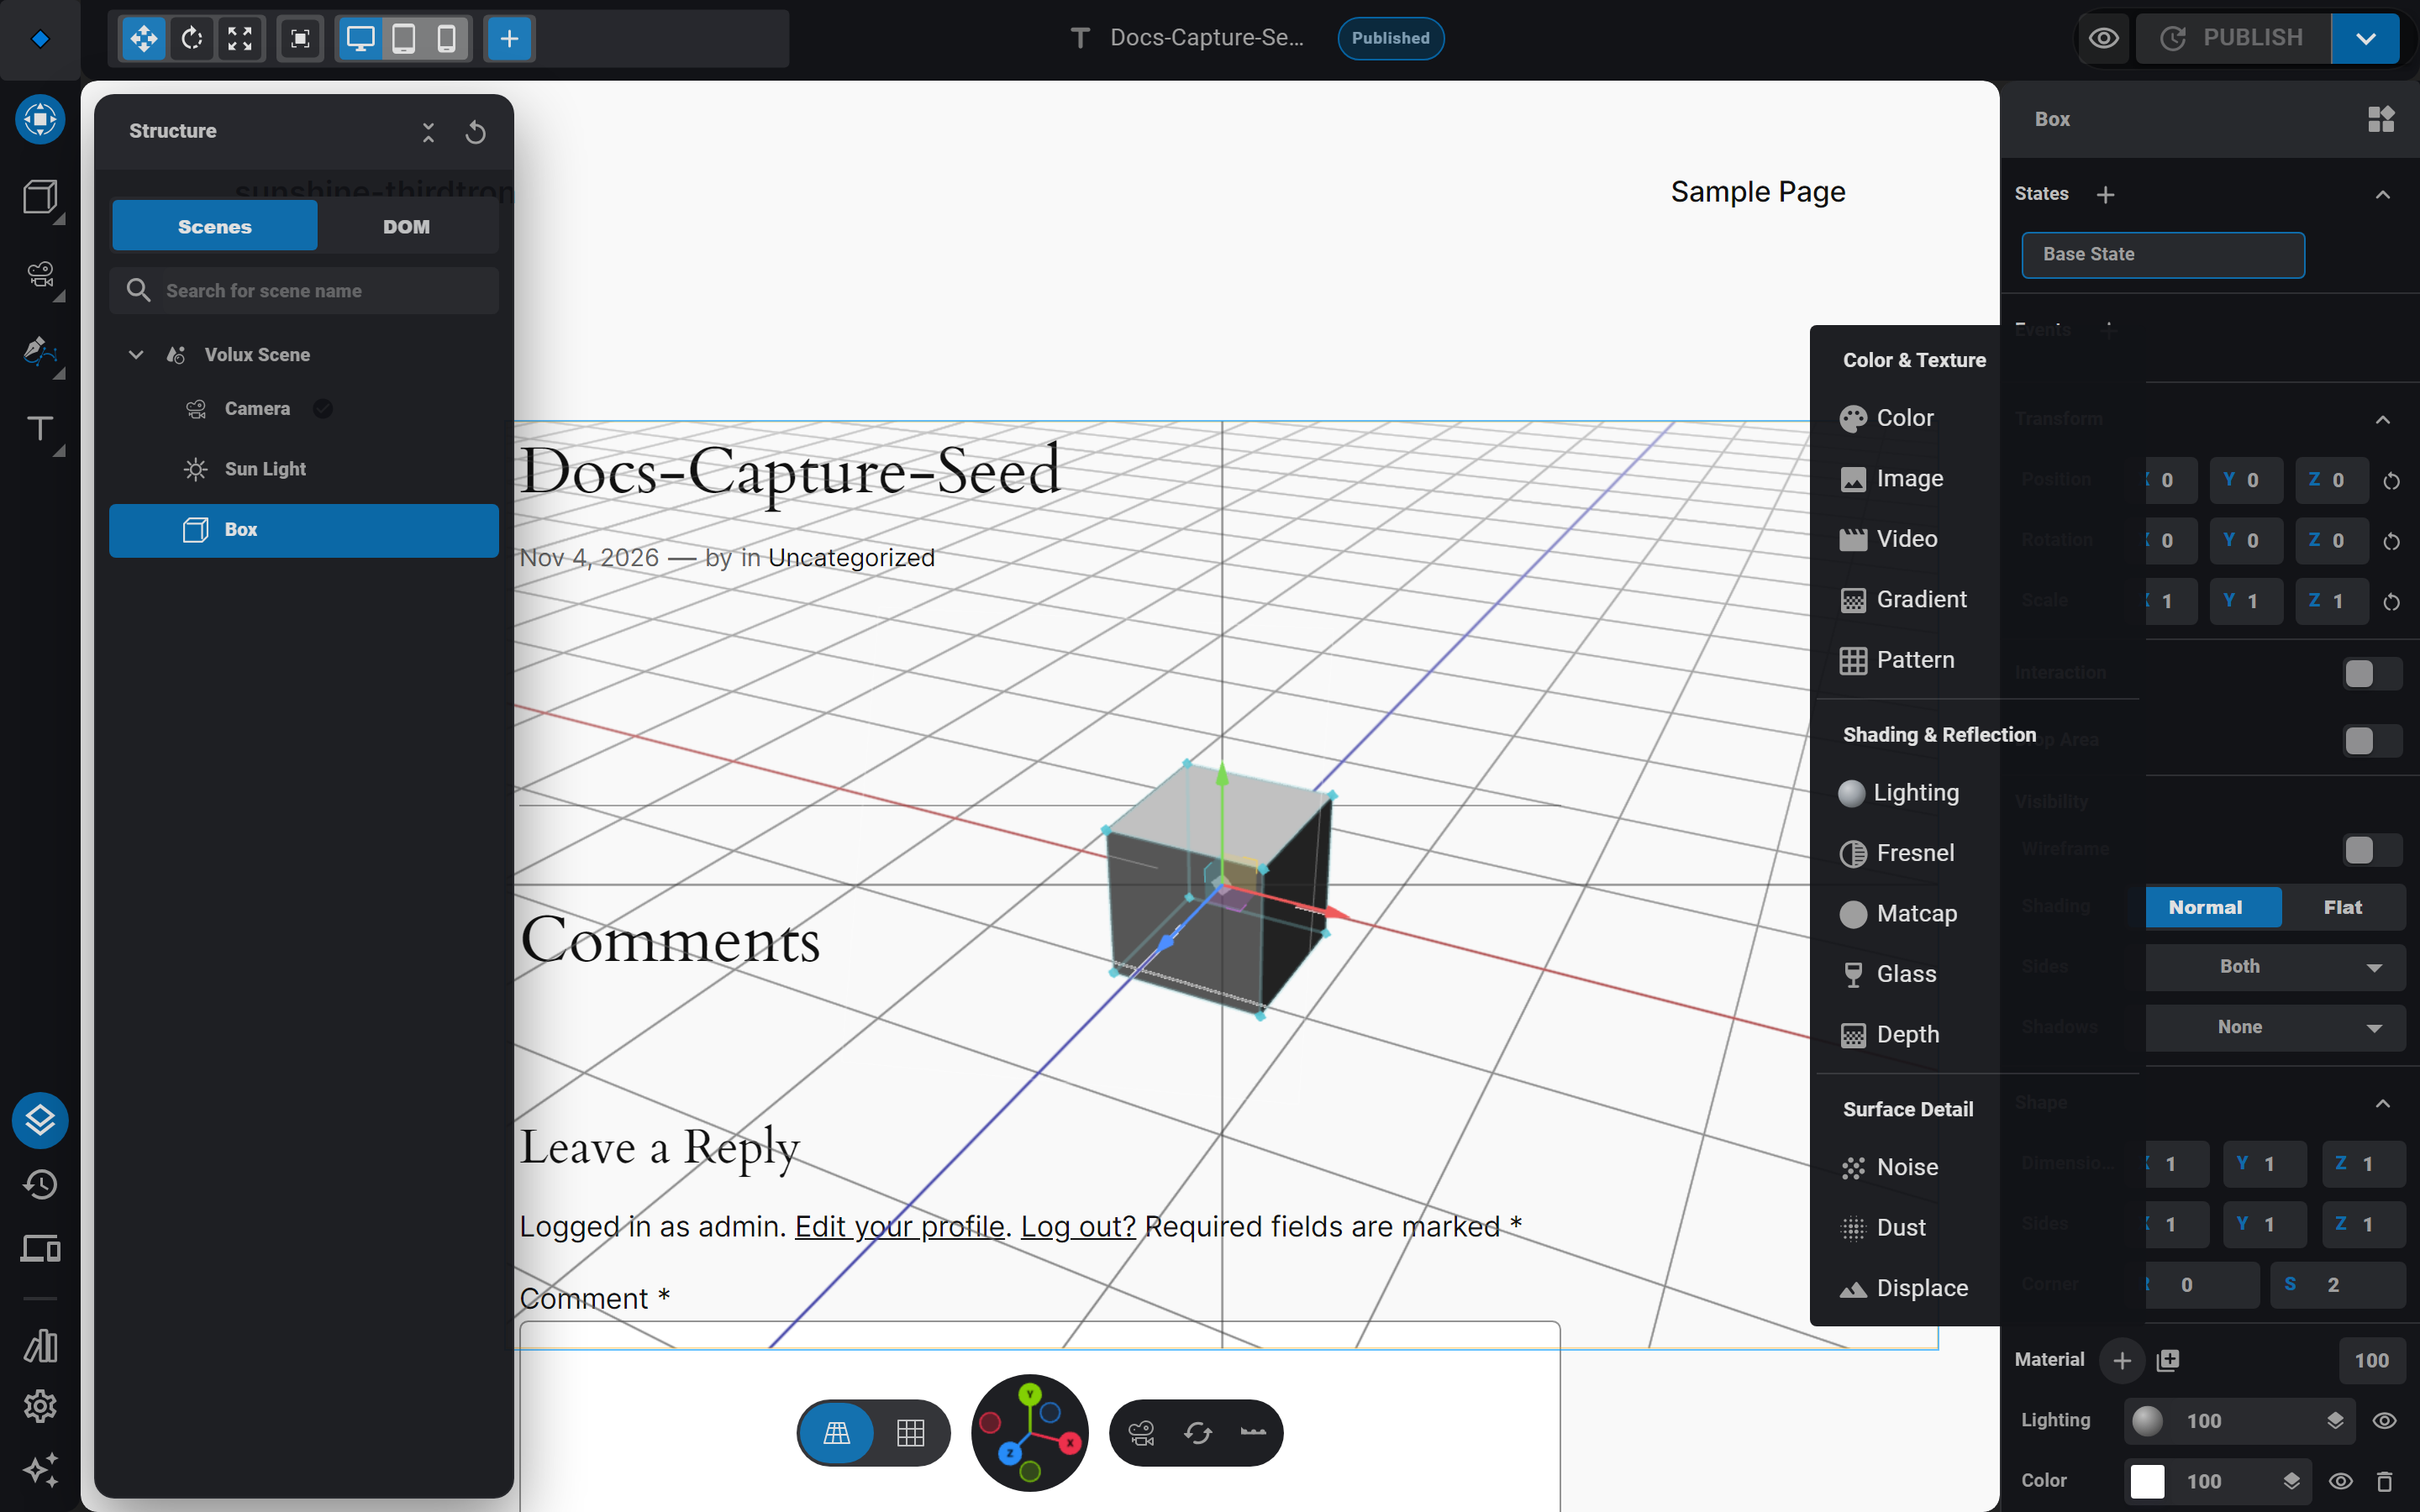
| Layer | What it does |
|---|---|
| Lighting | The surface's lighting response, not a paintable color. Choose the model — Phong, Lambert, Physical, or Toon — and tune specular, metalness, roughness, clearcoat, and friends. Its map slots (below) are where PBR textures plug in. |
| Color | A flat color tint over everything beneath. |
| Image | A texture from your media library, mapped with a projection (UV, planar, spherical, cylindrical, or triplanar), with tiling, crop, offset, and rotation controls. |
| Video | A video texture with the same mapping controls as Image, plus volume, a start delay, loop, and autoplay. |
| Noise | Procedural noise — Perlin, Simplex, fBm, Voronoi, and more — driving a four-stop color ramp, with domain warping for marbled looks. |
| Gradient | A linear, radial, or polar gradient ramp across the surface. |
| Pattern | Procedural 2D patterns — checkerboard, stripes, rings, waves, polygons, and more — in two colors. |
| Fresnel | A view-dependent rim light that brightens the object's silhouette. |
| Matcap | A matte-capture lookup: the object is lit entirely by a reference sphere image — a fast way to get rich, stylized shading. |
| Depth | A 3D gradient driven by camera distance or a direction in world space — depth fades and fog-like tints. |
| Dust | A world-up dusting — snow, grime, sand — that settles on upward-facing surfaces with noise breakup. |
| Glass | Real transmission: refraction, thickness, and frosted blur. See Glass changes the lighting model. |
| Displace | Pushes the surface itself along its normals, driven by noise or a height-map image — true geometry bumps. |
Some edits apply live, some rebuild
The most useful mental model of the layer system is a two-speed one:
- Values apply live. Drag a slider — a color, an intensity, a size, a rotation — and the surface updates instantly, with no flicker and no reload. Layer opacity, blend mode, ramp colors, noise scale, dust coverage: all live.
- Some choices rebuild the material. Each layer has a handful of structural choices — the noise algorithm, the gradient's geometry (linear/radial/polar), the pattern style, the displacement source, the lighting model itself. Changing one rebuilds the material graph behind the scenes. You notice only a brief beat; the edit is still one undo step.
You never configure which is which — each control just behaves the way it behaves, and both directions are safe to experiment with. One playback special case: a video layer's play state is never part of the rebuild — pausing, looping, or autoplaying only ever applies live.
PBR texture channels
Photoreal surfaces come from the Lighting layer's map slots. Each slot takes an Image layer from the same stack and routes it into a physical channel: normal and bump for surface detail, roughness, metalness, ambient occlusion, emissive, plus clearcoat, sheen, iridescence, anisotropy, and specular maps on Physical lighting.
- Add the image layers you need to the stack and keep their eye icons on — a hidden layer's texture does not load. A routed map never tints the surface, so there is nothing to see anyway.
- In the Lighting layer, assign each image layer to its slot — a Normal map slot, a Roughness map slot, and so on. Assigned maps show a badge on their rows.
- Scale the effect with the matching slider — Normal scale, Roughness, Metalness, AO intensity.
Channels are sampled per-texel with the industry convention — roughness from the green channel, metalness from blue, occlusion from red — so standard PBR sets work whether they ship as separate ambientCG maps or as a packed glTF metallic-roughness texture.
Glass changes the lighting model
Glass is special: instead of painting color over the stack, it turns the object into a transmissive, light-bending material and exposes thickness, index of refraction, and frosted blur.
Adding a Glass layer switches the object's Lighting model to Physical in the same undo step — transmission only exists in the physical model, so Volux makes the flip for you. One-way street: removing the Glass layer leaves Physical lighting in place (your other Physical-only settings survive), so nothing about your material is lost.
Mask a layer with the layer below
Most non-Lighting layers can flip into mask mode — a purple-arrow badge on the row. A masked layer paints nothing of its own; its brightness trims the layer directly beneath it, so a Noise layer in mask mode erodes the texture below it. Masking only reaches that one adjacent layer.
Next
- Text & Curves — text objects that carry these same material stacks.
- Materials & Texturing — hands-on texturing workflows.
- Assets & Libraries — saving materials for reuse.
Responsive Bands
Width bands, per-band values, and how every prop decides what varies per device.
Text & Curves
Live text, extruded Text 3D meshes with material layers, and the Bézier curve tools — pen, presets, and freehand draw.
Last updated on