HTML Overlays & DOM Interactivity
Mount real HTML content in 3D scenes, drive it with states, and wire page elements to scene interactions.
Volux can mount real HTML — styled text or raw markup — into a 3D scene as an object, and it can make the page's own DOM elements interactive alongside your scenes. This guide covers both: authoring an HTML overlay object, swapping its content per state, and the element interactivity model.
Add an HTML object
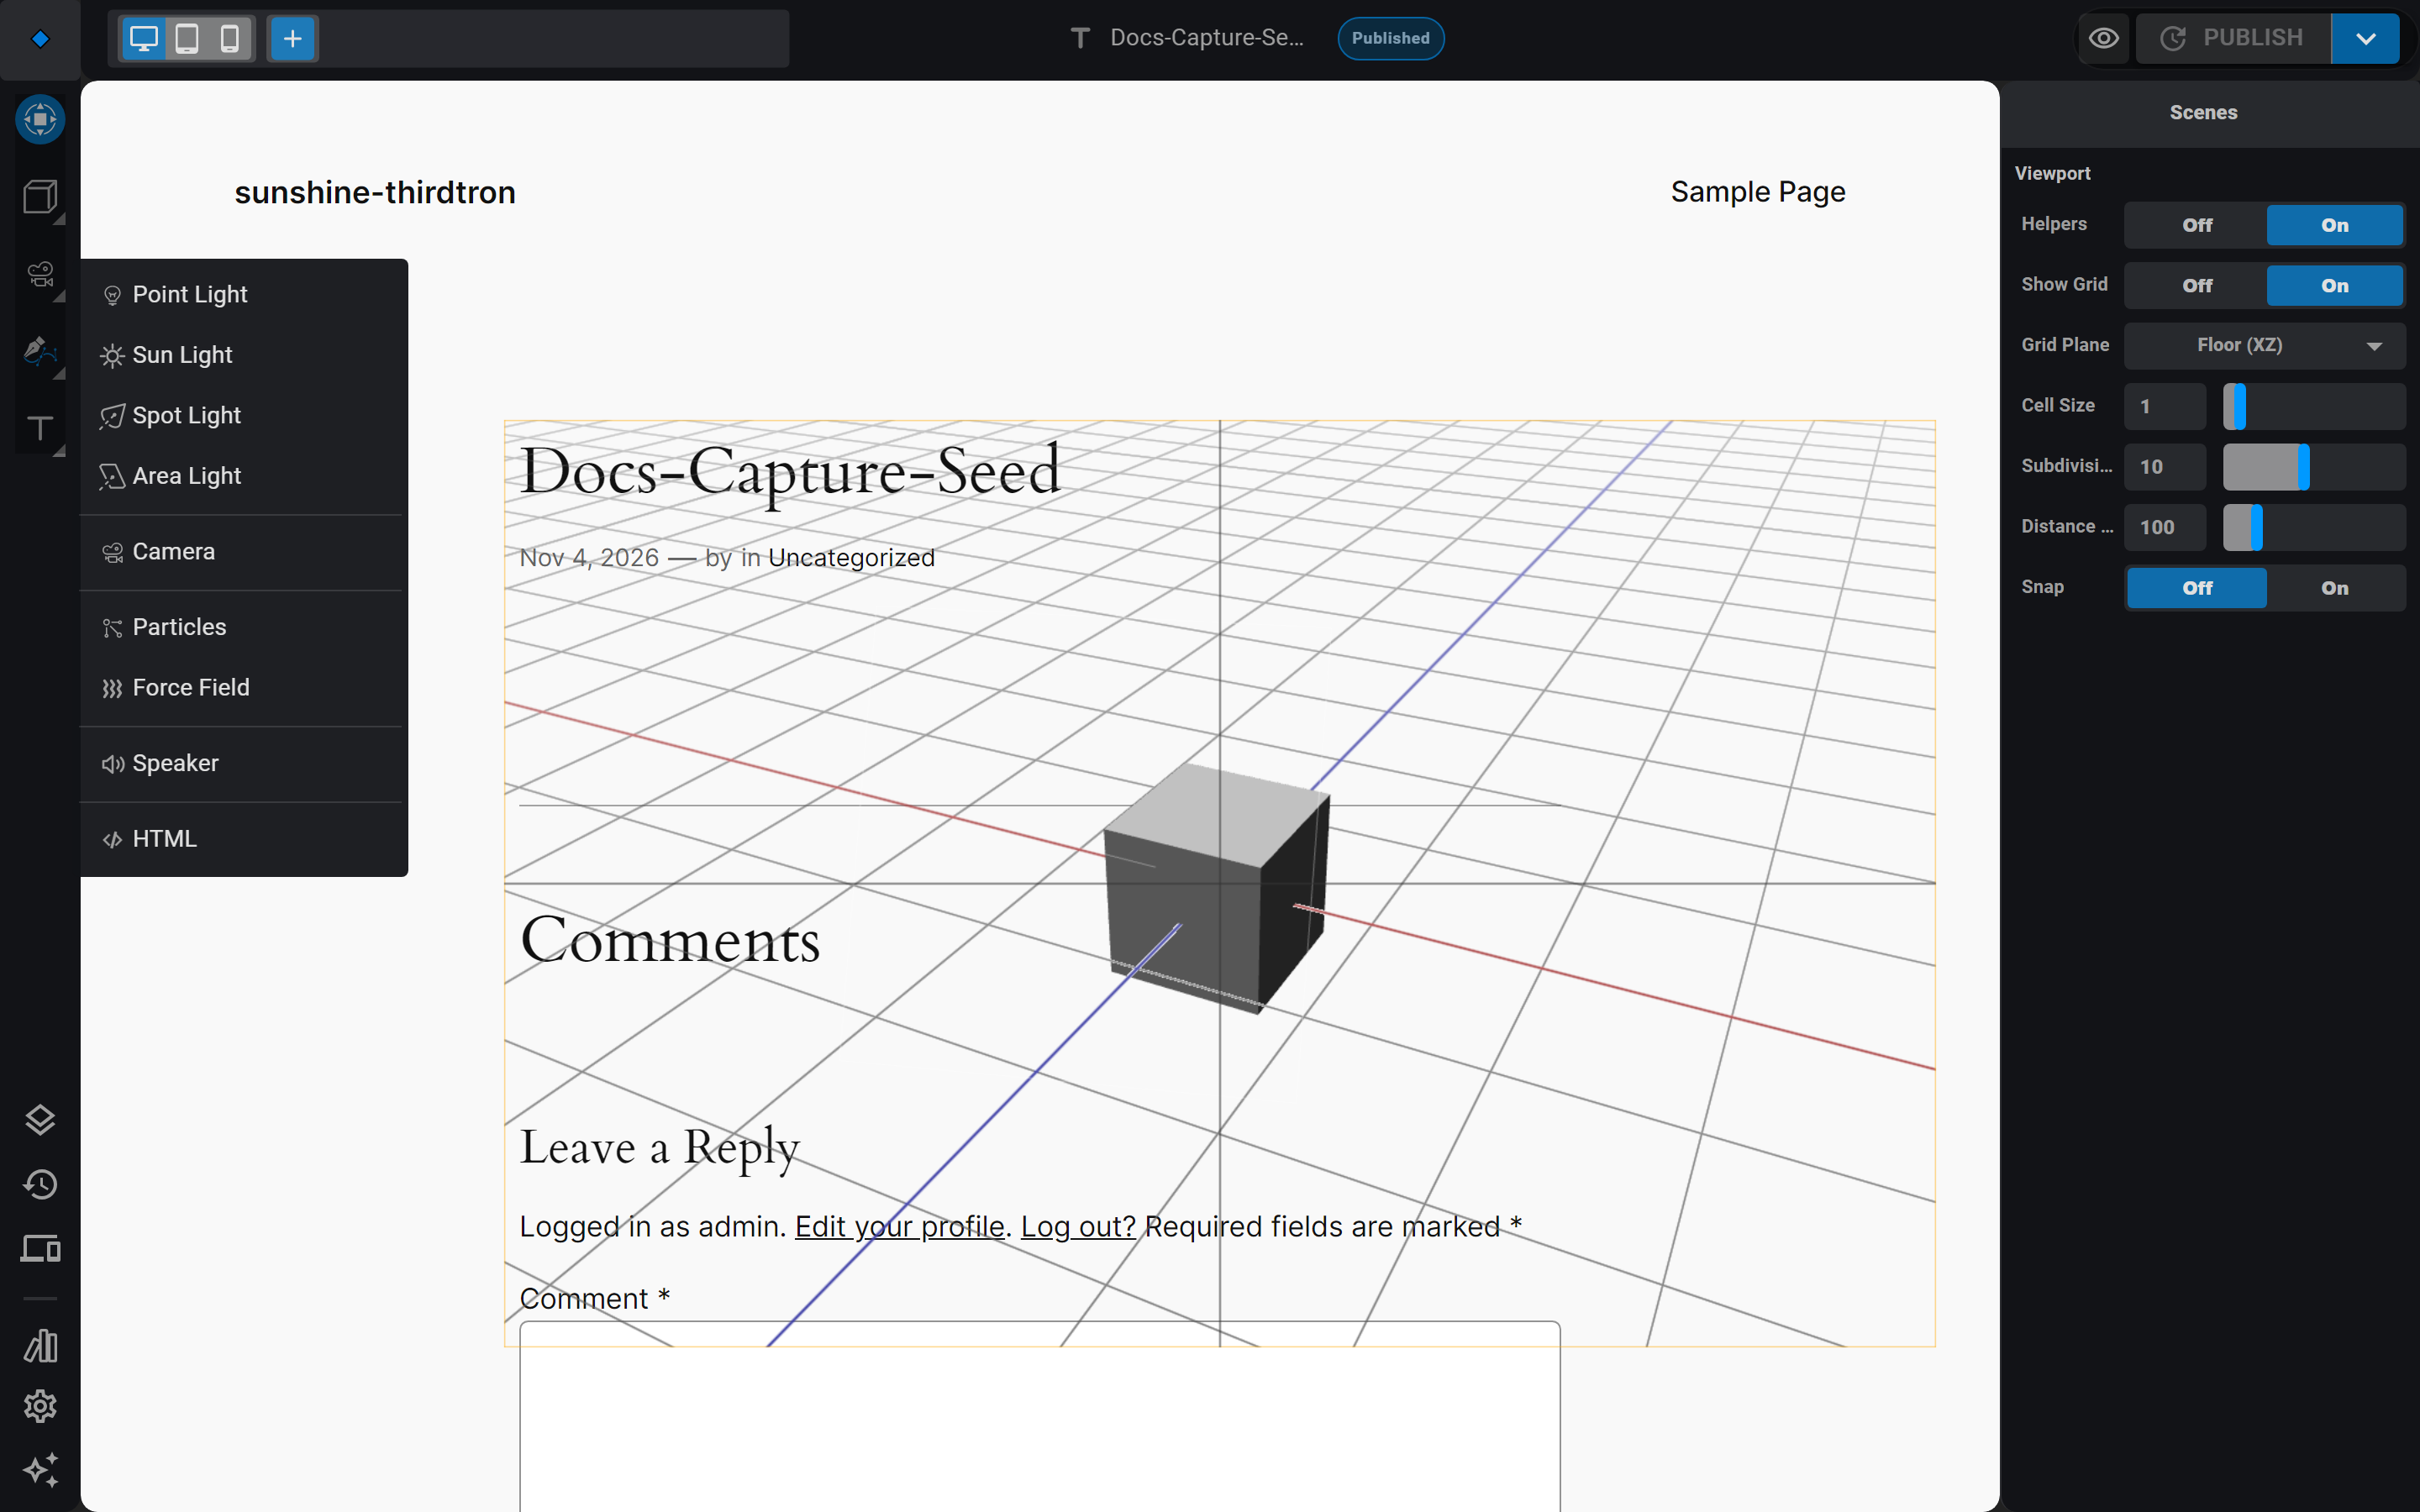
- Right-click Objects in the left rail and pick HTML from the flyout. A wireframe frame lands in the scene and selects itself.
- In the Content section, choose the mode: Raw HTML takes verbatim markup, Text takes plain content plus styling rows — alignment, color, font (from your font assets), weight, size, spacing, text shadow, background, padding, corner radius, and a max width.
- Position the object like any other. In Billboard render mode (the default) the overlay always faces the camera and scales uniformly with the object; In-scene mode pins the overlay into the scene with perspective and exposes a distance factor for size attenuation.
Display controls
The Display section holds the runtime toggles: occlude hides the overlay behind meshes (raycast occlusion), pointer events makes the overlay's own HTML clickable for visitors — links and buttons inside it work on the published page, center pins the overlay to its anchor's midpoint.
The overlay is a target, not a source
An HTML overlay never emits pointer events into the scene — raycasts don't see DOM. It is a full event target though: hover a mesh and fire a Transition that flips the overlay's visible state, and the tooltip pattern falls out naturally. Pointer triggers you add to an HTML object are authoring-inert by design.
Swap content per state
Overlay content is state-aware: each state carries its own content, so an event can swap the overlay's text the same way it flips a color.
- In the object's States section, add a state. See States for the snapshot model.
- Edit the Content section while that state is active — the mode and its text or markup belong to the state, while the display flags stay shared.
- Fire the flip with a Transition event from any other object.
Sanitization is always on — use hex, not rgba()
Every HTML payload — the base content, each state's copy, and every breakpoint override — runs through server-side sanitization at save, regardless of user role. Raw markup keeps the standard post markup set (plus text-shadow, transition, and mix-blend-mode inline styles); text-mode content is stripped to plain text. One quirk to remember: the sanitizer's CSS engine drops whole declarations with rgba() colors — write background: #ff0000cc instead. Hex, including eight-digit hex, survives.
Make page elements interactive
The DOM around your scenes can interact too. Elements carry their own states and events — the same model objects use, with a smaller trigger set.
- Open the Structure drawer and switch to the DOM tab. Click an element row — its panel opens with States, Events, Structure, and Visibility sections.
- Element states tween opacity and transform (compositor-only, so they stay smooth) and flip display and pointer events instantly. Like object states, they refine per device band.
- Add an event: element triggers are exactly Mouse Up (click), Mouse Hover, and Scroll. A scroll event drags enter/leave bands off a target element and can scrub a linked transition's progress.
- Element transitions can target objects too — a click on a button div can flip a mesh's state across scenes.
Interactivity never breaks the page
Element listeners are pure observers: Volux never calls preventDefault or stops propagation, so links, forms, and theme scripts keep behaving. During a drag or camera orbit, clicks are swallowed by a gesture claim so a released drag isn't a click.
Next
- Events & Actions — the trigger and action catalog.
- States — the state machine behind content swaps.
- Publishing & Frontend Behavior — how scenes and elements compose on the page.
Events & Actions
Wire visitor interactions — mouse, keyboard, distance, collision, drag — to actions on objects and page elements.
Assets & Libraries
Manage My Assets, browse the bundled Volux library and public sources, and reuse whole scenes as components.
Last updated on