Materials & Texturing
Build layered materials, texture them with PBR maps, and reuse the results from your asset library.
A material is a stack of layers that blend top-down, and this guide walks the practical workflow: reading the stack editor, texturing a surface with PBR maps, dragging values live, and saving materials for reuse. For the conceptual model — the thirteen layer kinds and what rebuilds versus what applies instantly — see Materials (Layers).
Read the layer stack
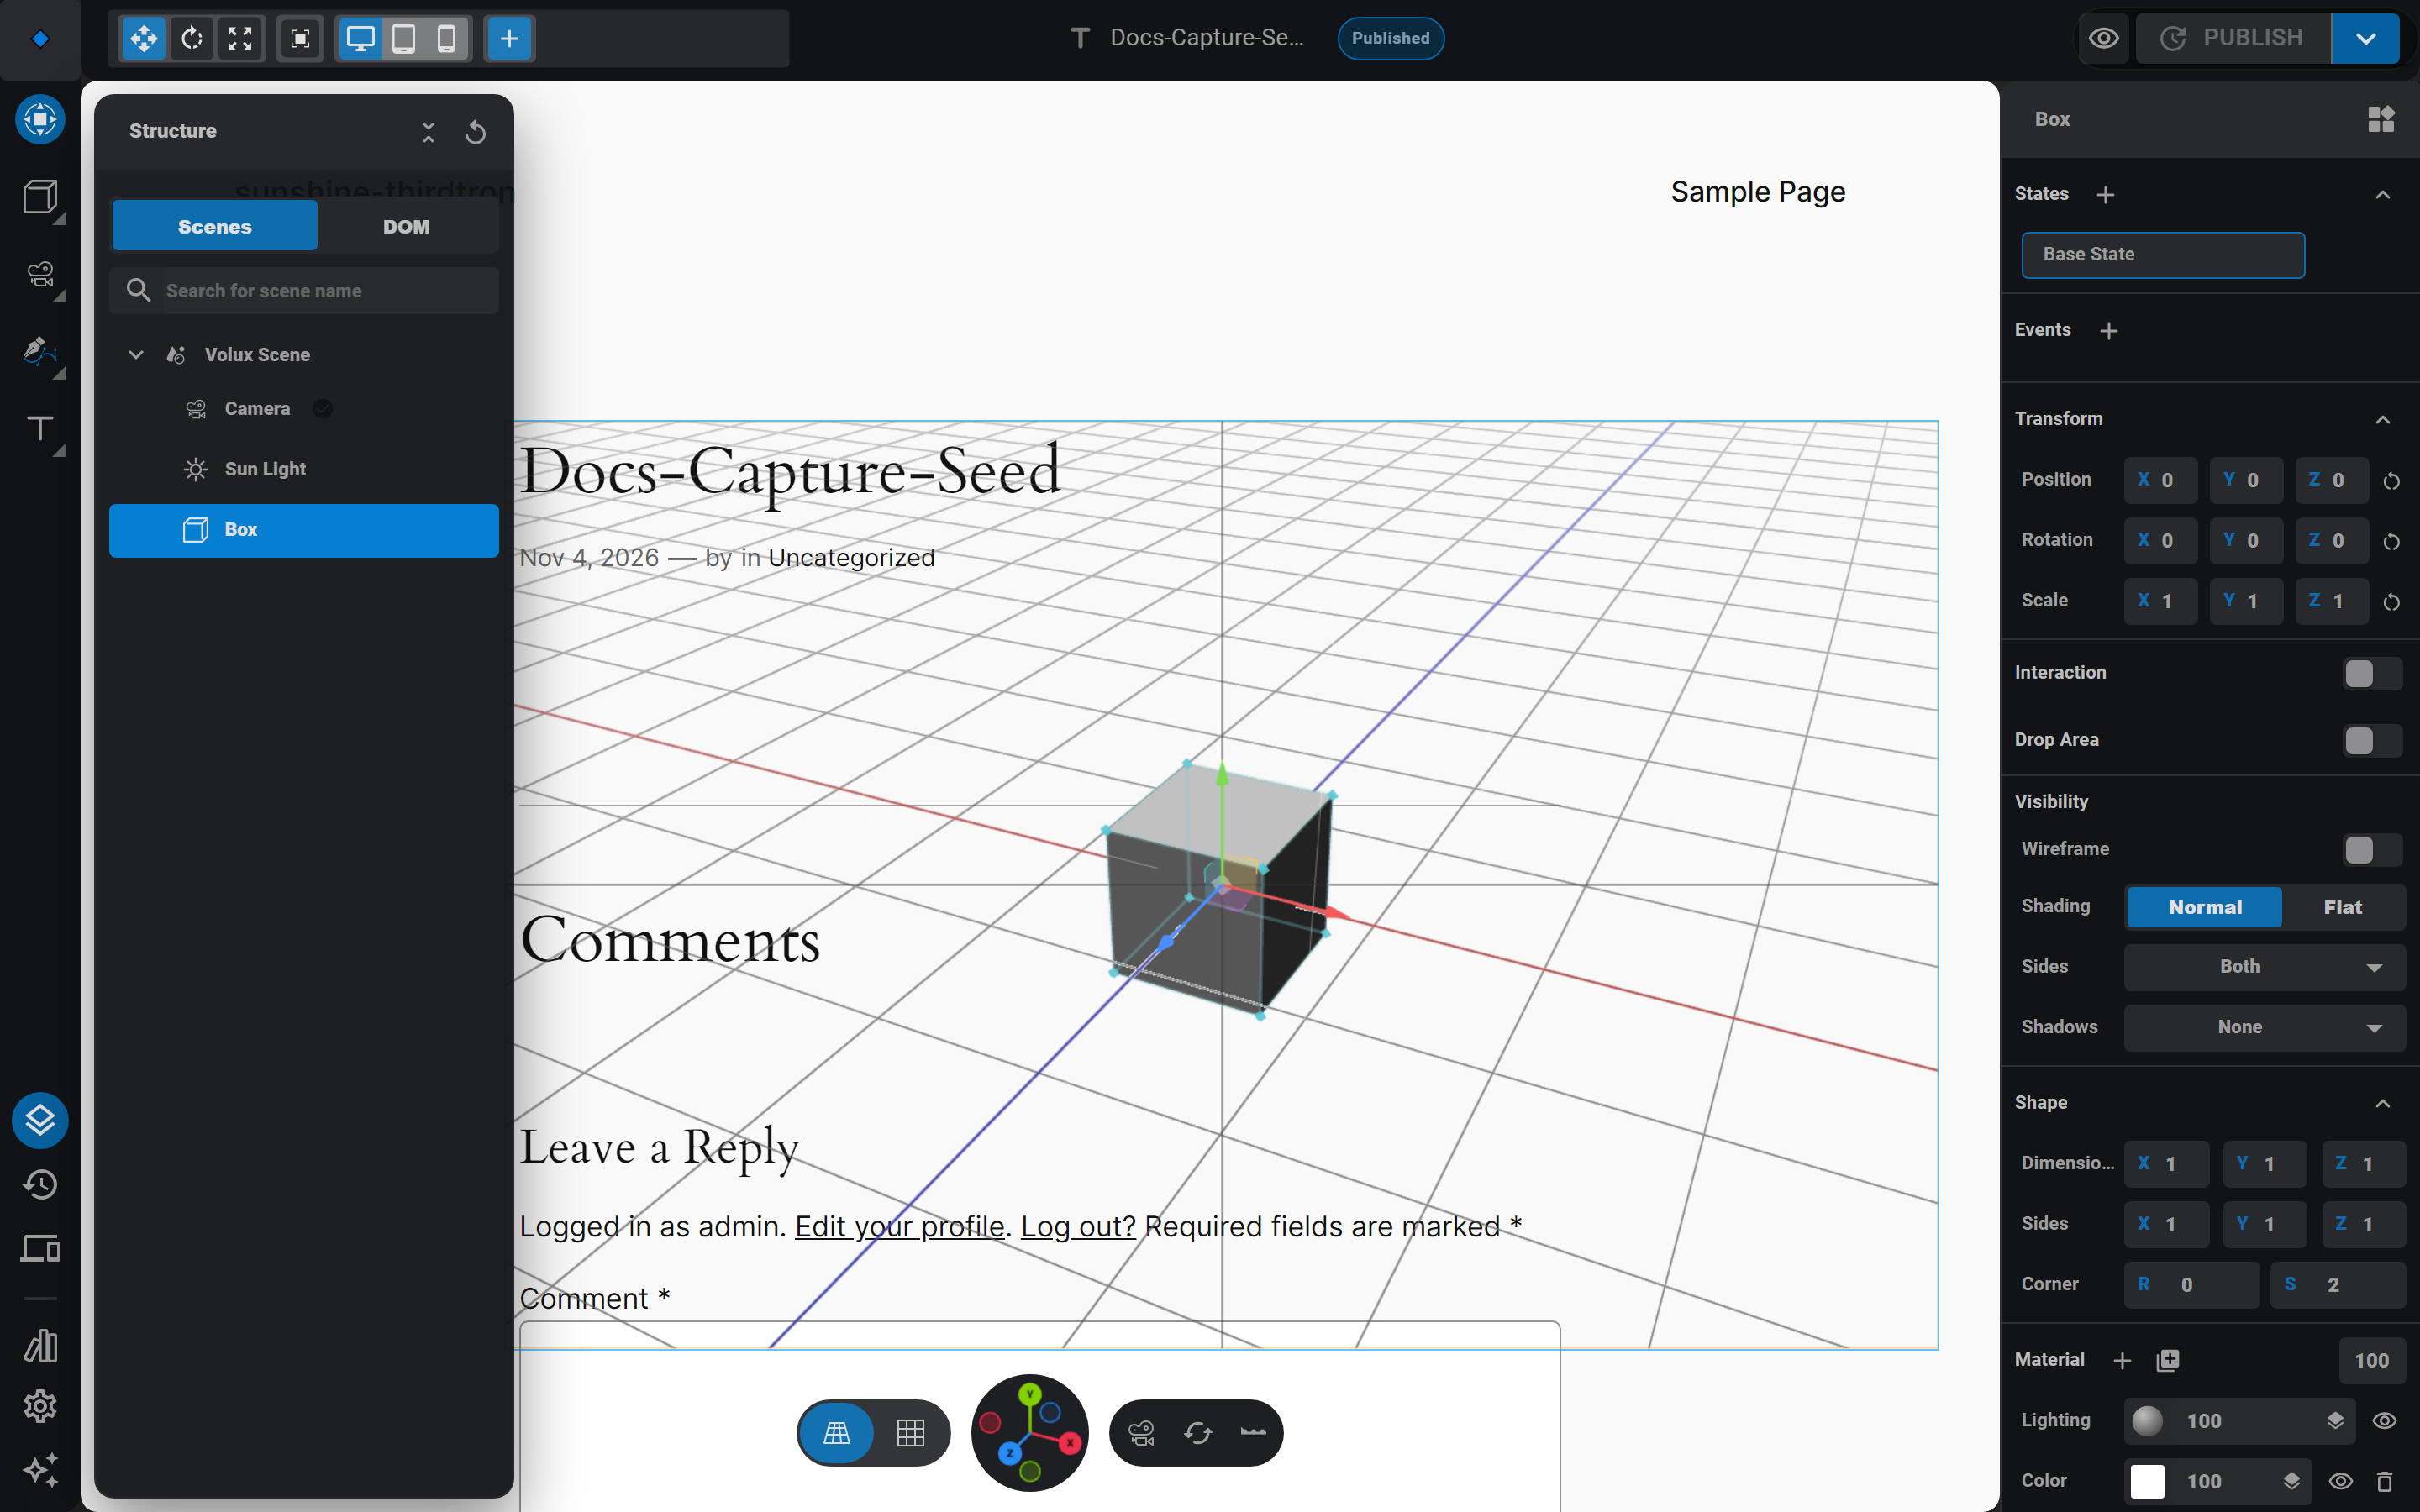
- Select any mesh and scroll its panel to the Material section. Every object starts with two layers: Lighting (the surface's response to light) and Color (a flat tint).
- Click + to add a layer — the add menu groups the kinds so you can scan them quickly. Each row shows a swatch, its blend mode, an eye toggle, and an opacity number.
- Drag a row's handle to reorder the stack: higher rows composite over lower ones.
Texture a surface with PBR maps
Photoreal surfaces come from the Lighting layer's map slots. Each slot takes an Image layer from the same stack and routes it into a physical channel.
- Add Image layers for the maps you have — albedo, normal, roughness, metalness, ambient occlusion — and keep their eye icons on: a hidden layer's texture never loads. A routed map never tints the surface, so there is nothing to see in the stack anyway.
- In the Lighting layer, assign each image layer to its slot — a Normal map slot, a Roughness map slot, and so on. Assigned maps badge their rows.
- Scale the effect with the matching sliders — Normal scale, Roughness, Metalness, AO intensity. Where a map is present, the scalar multiplies it (1.0 is pass-through).
Channels sample per-texel with the industry convention — roughness from the green channel, metalness from blue, occlusion from red — so any standard PBR set works, whether it ships as separate maps or as a packed glTF metallic-roughness texture. No per-map channel setting to remember.
Pull PBR sets straight from ambientCG
- Open the Libraries panel from the left rail and choose Public → ambientCG.
- Browse or search the CC0 catalog and import a material set. Volux downloads the bundle, sideloads the Color / Normal / Roughness / Metalness / AO maps into your media library, and builds a layered material with every channel wired — the albedo folds into the color, the normal drives true tangent-space mapping, and roughness/metalness/AO land in their per-texel slots.
- Apply the material to a selected object: double-click the asset card's preview.
Height maps are the one thing dropped
The importer accepts color/normal/roughness/metalness/AO jpegs, pngs, and webps; height/displacement maps in an ambientCG bundle are skipped. Add a Displace layer manually if you want true geometry bumps.
Drag values live
Every value drag in the material editor — a color, an intensity, a ramp stop — previews on the object in real time while you drag and commits when you release. The preview is a transient overlay: it never lands in the document, never enters undo, and the committed value replaces it the moment the real update dispatches. If you undo mid-drag (Ctrl/Cmd+Z), you undo the last committed value, not the mid-drag pose.
Structural choices behave differently: the noise algorithm, the gradient's geometry, the pattern style, the lighting model itself rebuild the material graph on change. You notice a brief beat; the edit is still one undo step. The one playback special case: a video layer's play state never rebuilds — pausing, looping, and autoplay apply live.
Save and reuse materials
- With the stack the way you want it, click the Save material to assets button in the Material section's header. The material lands in My Assets as a material asset, previewed in a floating off-canvas editor you can drag anywhere.
- To apply it elsewhere, select the target object, open Libraries → My Assets, and double-click the material's card.
- Renaming is in place: click the card's name and type.
Next
- Materials (Layers) — all thirteen layer kinds and the blend model.
- Assets & Libraries — the full library system, including scene snapshots.
- States — swap material content per interaction state.
3D Objects & Mesh Editing
Add primitive and custom meshes, transform them precisely, then edit them vertex-by-vertex in edit mode.
Lighting
Place and aim point, sun, spot, and area lights, tune the scene ambient, and control shadows.
Last updated on