Assets & Libraries
Manage My Assets, browse the bundled Volux library and public sources, and reuse whole scenes as components.
Everything you save for reuse — materials, colors, media, fonts, and whole scenes — lives in the libraries panel. This guide covers the three sources, saving and applying assets, and the scene-component workflow: capturing an entire scene and inserting it anywhere as a copy.
The three sources
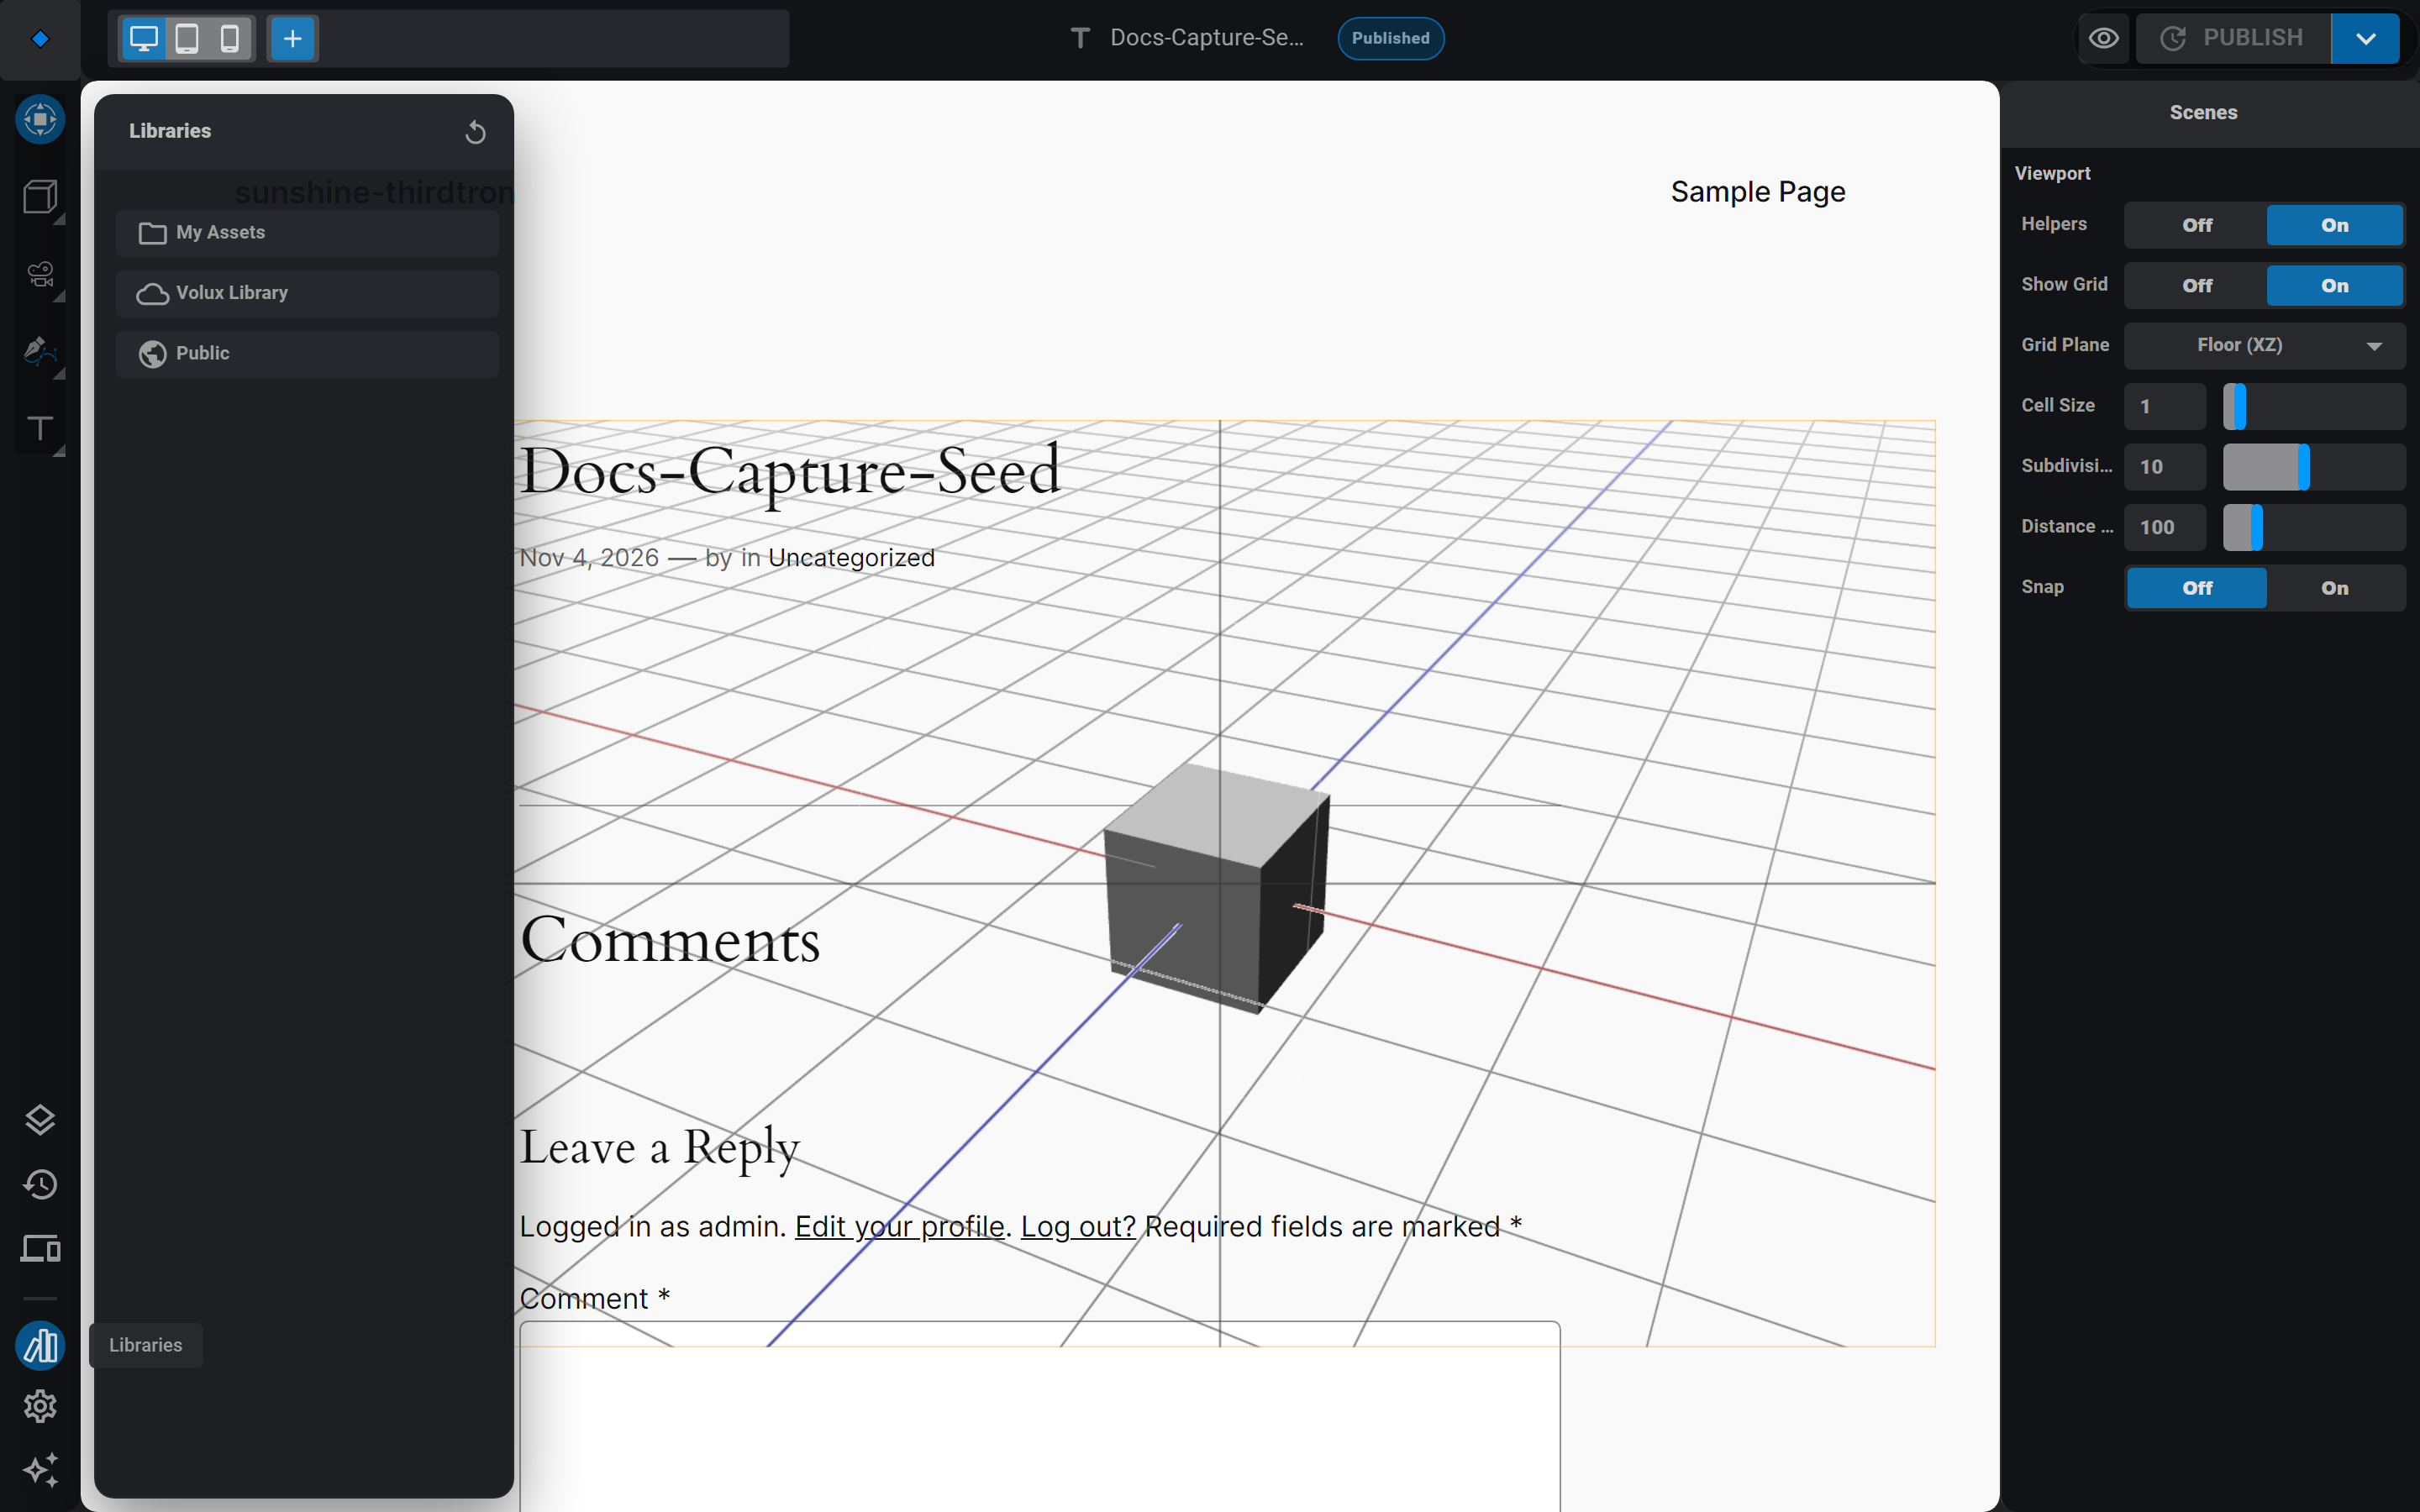
- Click Libraries in the left rail. The panel offers My Assets, Volux Library, and Public.
- My Assets is your own library — saved per WordPress user and available in every document. This is where materials, fonts, and scene components you save land.
- Volux Library opens a chooser with two sub-sources: Local — the catalog bundled with the plugin, which works offline with no setup (no media imports, no database rows; the files ride the plugin itself) — and Remote, the Volux library server's client, which stays gracefully empty until the server ships.
- Public browses live catalogs: ambientCG for CC0 PBR texture sets and Sketchfab for models.
Save, apply, rename
- Save from where you authored: the Material section's Save material to assets button stores the whole layer stack; the scene panel's Save as component button (also on scene rows in the tree, at the far right on hover) captures an entire scene. Fonts are managed through the font pipeline and land here as font assets.
- Apply by double-clicking a card's preview — a material applies to the selected object, a font to selected 3D text, a scene component to the page body. The card's menu (the ellipsis) holds the rest of the actions.
- Rename in place: click the card's name and type. The rename touches the name only — for large assets like scene snapshots the stored payload never travels back with the edit, so a rename of a list row is safe and instant.
Save a scene as a component
A scene component is a snapshot of an entire scene — every object, its materials, its events, its cameras — stored in My Assets and insertable into any document.
- Select the scene and click Save as component in the scene panel's header, or hover the scene's row in the structure tree and use the far-right action. Name it and save.
- To insert it elsewhere, open the target document, switch the Structure drawer to the DOM tab, and use the Add scene action at an element row's far right — the flyout lists your saved scene components plus a New empty scene action. The assets panel's scene card inserts into the page body instead.
- The insert lands as a snapshot copy in one undo step: fresh ids, the scene's own cameras and lights carried over (no default rig is seeded), and cross-object references — event targets, camera defaults — rewritten to the new ids. Any scene-to-element links from the original are stripped; the host element becomes the copy's linked element.
- Large snapshots only fetch their full content at insert time — the library list stays light, and inserting is when the payload arrives.
Scenes never nest
A scene node can't host another scene. The insert action refuses scene elements as hosts — pick a page element (or the body) instead.
Next
- Materials & Texturing — the ambientCG PBR import in detail.
- Documents & Scenes — what a scene snapshot captures.
- Publishing Scenes — take the assembled page live.
HTML Overlays & DOM Interactivity
Mount real HTML content in 3D scenes, drive it with states, and wire page elements to scene interactions.
AI Builder (BYOK)Pro
The in-editor AI assistant that builds and edits scenes through the command bus — running on your own provider key.
Last updated on