Timeline & Keyframes
Key object transforms on the timeline — clips, auto-key, the K key, transport, and physics baking.
Keyframe animation animates an object's position, rotation, and scale over time. This guide walks the workflow: opening the timeline, keying transforms with auto-key or the K key, driving playback, and — if you use physics — baking a simulation into plain keyframes.
Open the timeline
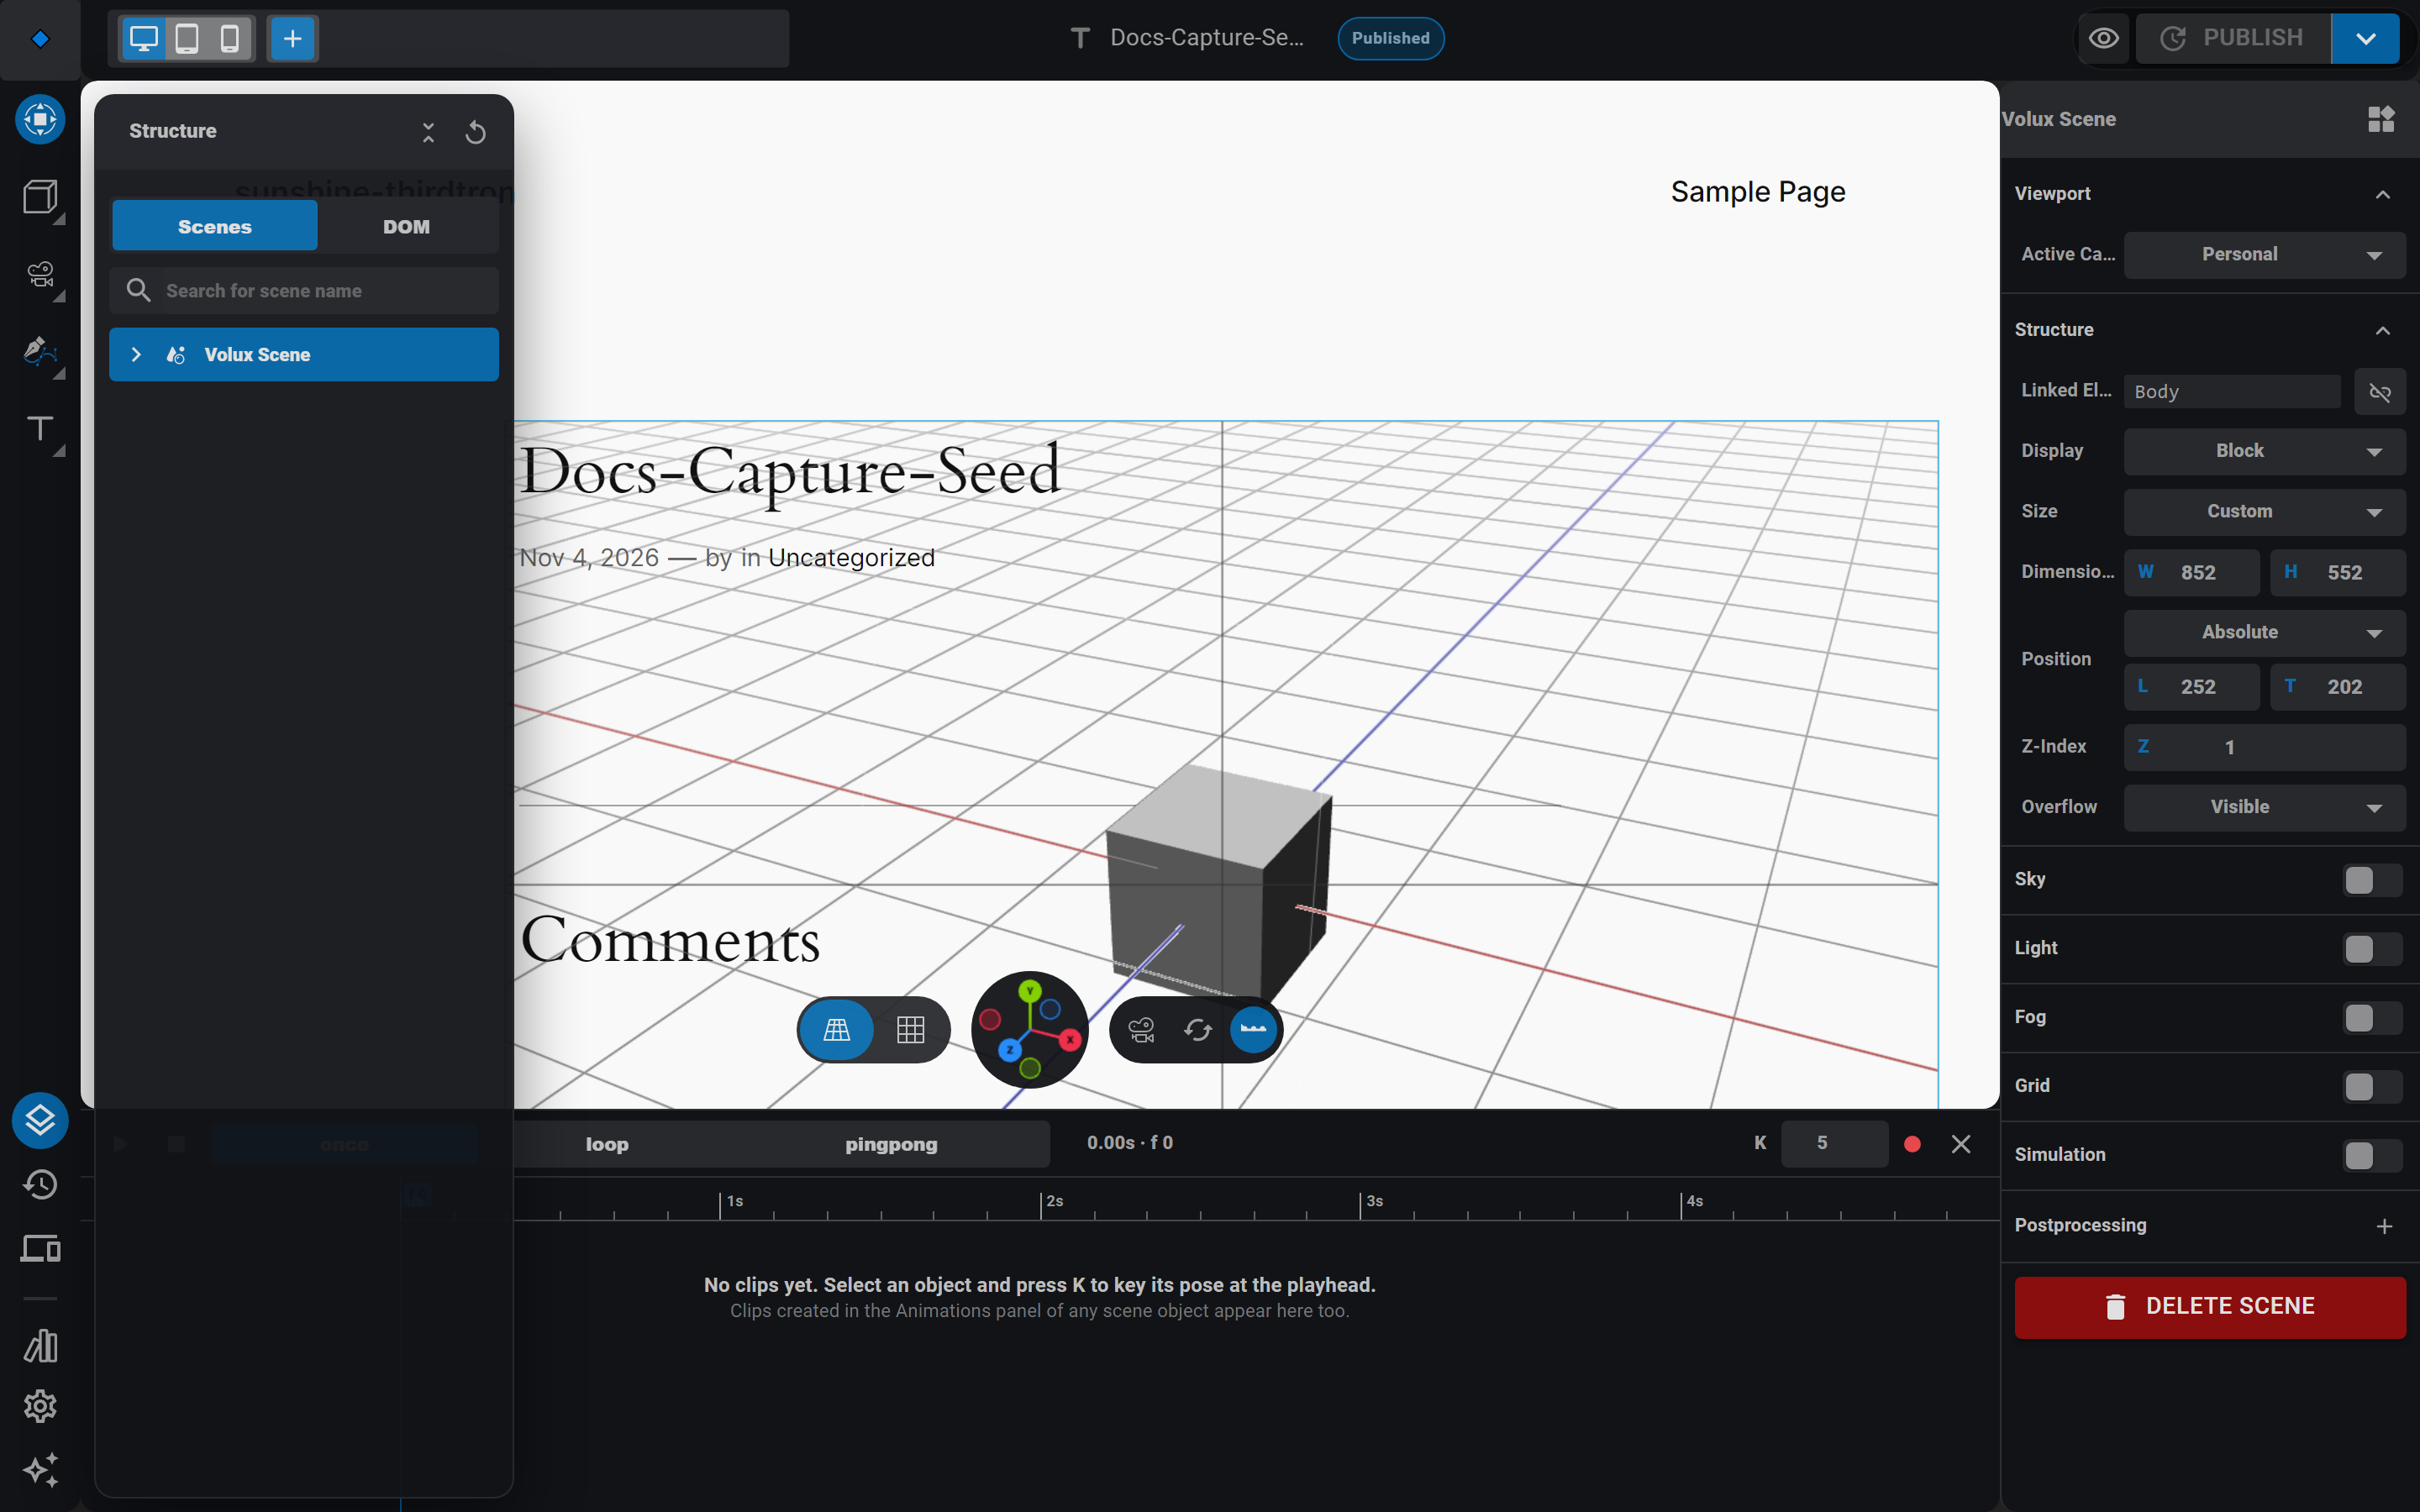
- Click the Timeline button at the right end of the bottom navigation pill. A 240-pixel panel docks at the bottom of the stage and the preview resizes to make room.
- Select an object — the panel shows that object's clips as rows, expandable into channel rows (Position, Rotation, Scale × X, Y, Z) with keyframe diamonds. Axis-colored ticks mark each channel.
- Click a clip row to make it the authoring target — auto-key and the K key write into it.
Key a transform
- Move the playhead in the ruler to the moment you want a pose recorded.
- With Auto-key armed (the toolbar toggle — on by default), just move the object: drag the gizmo or edit the transform numbers. Only the groups you actually changed get keyed at the playhead, joined into the same undo step as the move.
- Auto-key never creates clips — it only fills the authoring target. To start from nothing, press K: it keys all nine channels at the playhead and auto-creates a clip if the object has none.
- New keys ease in and out by default. Right-click a diamond to switch that segment's interpolation — Constant, Linear, or Eased — or to delete the key. Drag a diamond to retime it.
Units and where keys live
Rotation values are in degrees; position and scale are in world units. Clips live at the object's root — never inside a state — so a state switch never multiplies or orphans them.
Drive playback
- Press Space to play or pause the scene transport — it plays every active clip in the scene on one shared playhead. The transport bar's buttons do the same: play/pause, stop, and insert key.
- Drag the playhead to scrub. A scrubbed player holds the pose where you leave it; Stop (or a clip's reset) returns objects to their authored pose.
- Set the scene duration with the transport bar's seconds field — it becomes the ruler length.
- Per-clip options live in the object panel's Animations section: rename, enable/disable, duration, and the loop mode — Once (plays and holds the final pose), Loop, or Ping pong.
Play on page load is just an event
There is no autoplay flag. Add a Start event with a Timeline Animation action on the object and the clip plays when visitors load the page.
Bake a physics fall
If the object participates in physics, the Animations section offers a bake that records the live simulation into ordinary keyframes.
- Scroll the object's panel to the Bake fall from physics block, set the duration and sample rate, and click the bake button. The computation runs headless and lands the baked clip in one undo step.
- Baked keys render linear, so complex motion may simplify slightly; keep the sample rate high enough for fast impacts.
- The bake records the fall — the object keeps participating in the live simulation. Keep physics on to stay live, or turn physics off and play the baked clips from events.
- Re-baking the same state replaces that take; baking a different state appends a second baked clip.
A bake records, never excludes
The baked clip is a recording, not a handoff — while it plays it holds the object to the recorded pose, with the live simulation running underneath. The bake is deterministic: the same settings always produce the same keys.
For the physics side — participation, playback windows, and the sim clock — see Physics.
Next
- Modifiers & Constraints — constraints compose over the timeline at rest.
- Events & Actions — trigger clips from visitor interaction.
- Keyboard Shortcuts — Space, K, and the rest.
Audio (Speakers)Pro
Positional and ambient audio through speaker objects — spatial falloff, directional cones, and autoplay with the first-gesture unlock.
Events & Actions
Wire visitor interactions — mouse, keyboard, distance, collision, drag — to actions on objects and page elements.
Last updated on