Quick Start: Your First Page
Build and publish a complete 3D page end-to-end in about fifteen minutes.
Build a complete 3D page — scene, material, light, camera, interaction — and publish it to your WordPress site. Fifteen minutes, no code.
Before you start
Requirements
You need Volux Pro installed and activated. See Requirements & Installation.
1. Create a document
- From your WordPress dashboard open Volux. The dashboard's welcome card is the fastest way in.
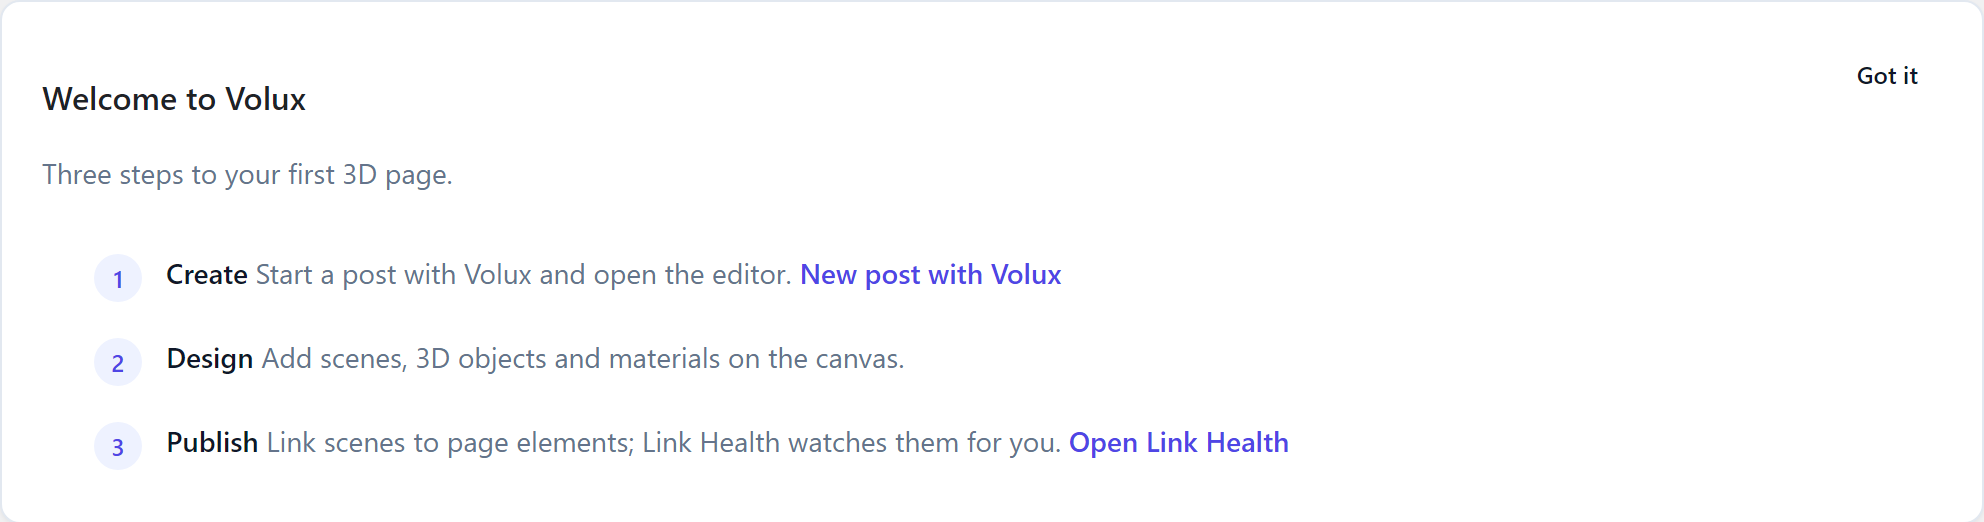
The Volux dashboard welcome card - Click New post with Volux. WordPress creates a post and the editor opens straight into it — the title strip at the top shows the document name and its publish status.
2. Add a scene
A document holds one or more scenes; each scene renders as one 3D canvas on the page.
- Click Structure in the bottom group of the left rail. The structure drawer opens with a Scenes tab.
- Click New Scene in the empty state.
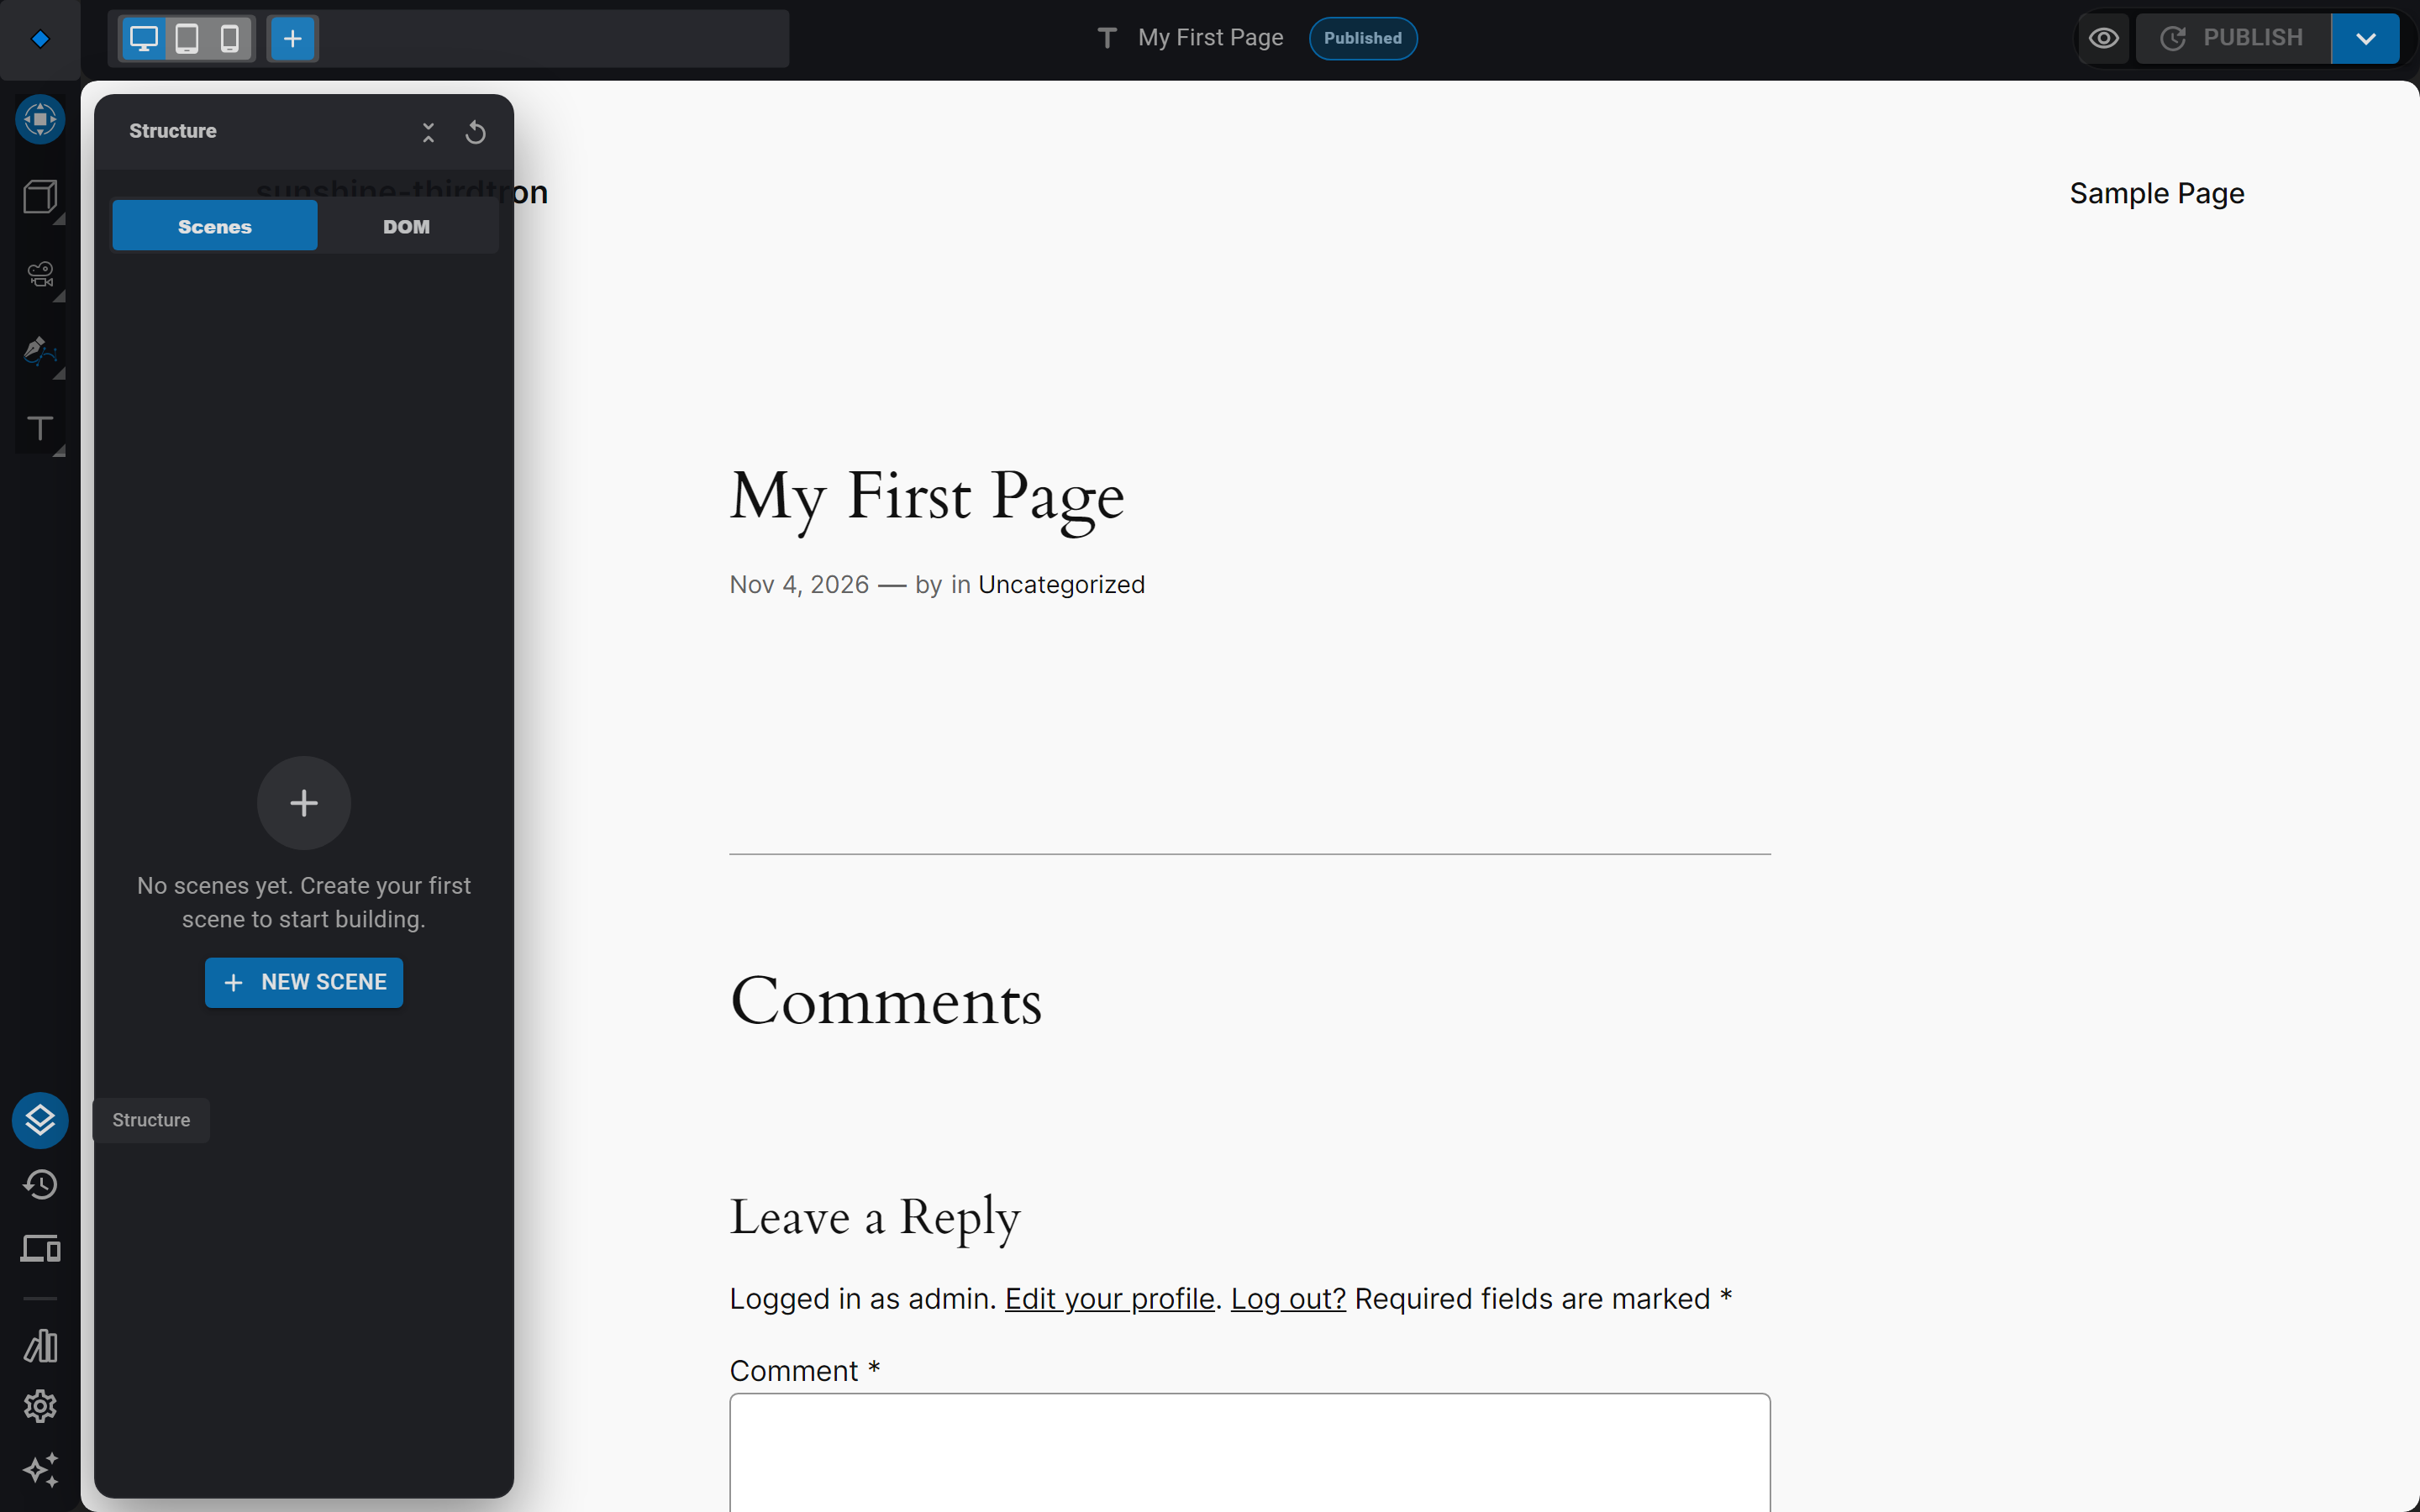
The structure drawer's empty scene list - Every new scene seeds a Camera and a Sun Light alongside it, so you start lit and framed. Expand the scene row in the tree to see them.
3. Add a primitive
- Click Primitives in the left rail and pick Box. The flyout groups mesh, flat, curved, and polyhedron shapes; the box lands at the scene origin.
- Expand the scene in the structure drawer — the Box is there. Click the Box row to select it: a gizmo appears in the viewport and its settings panel opens on the right.
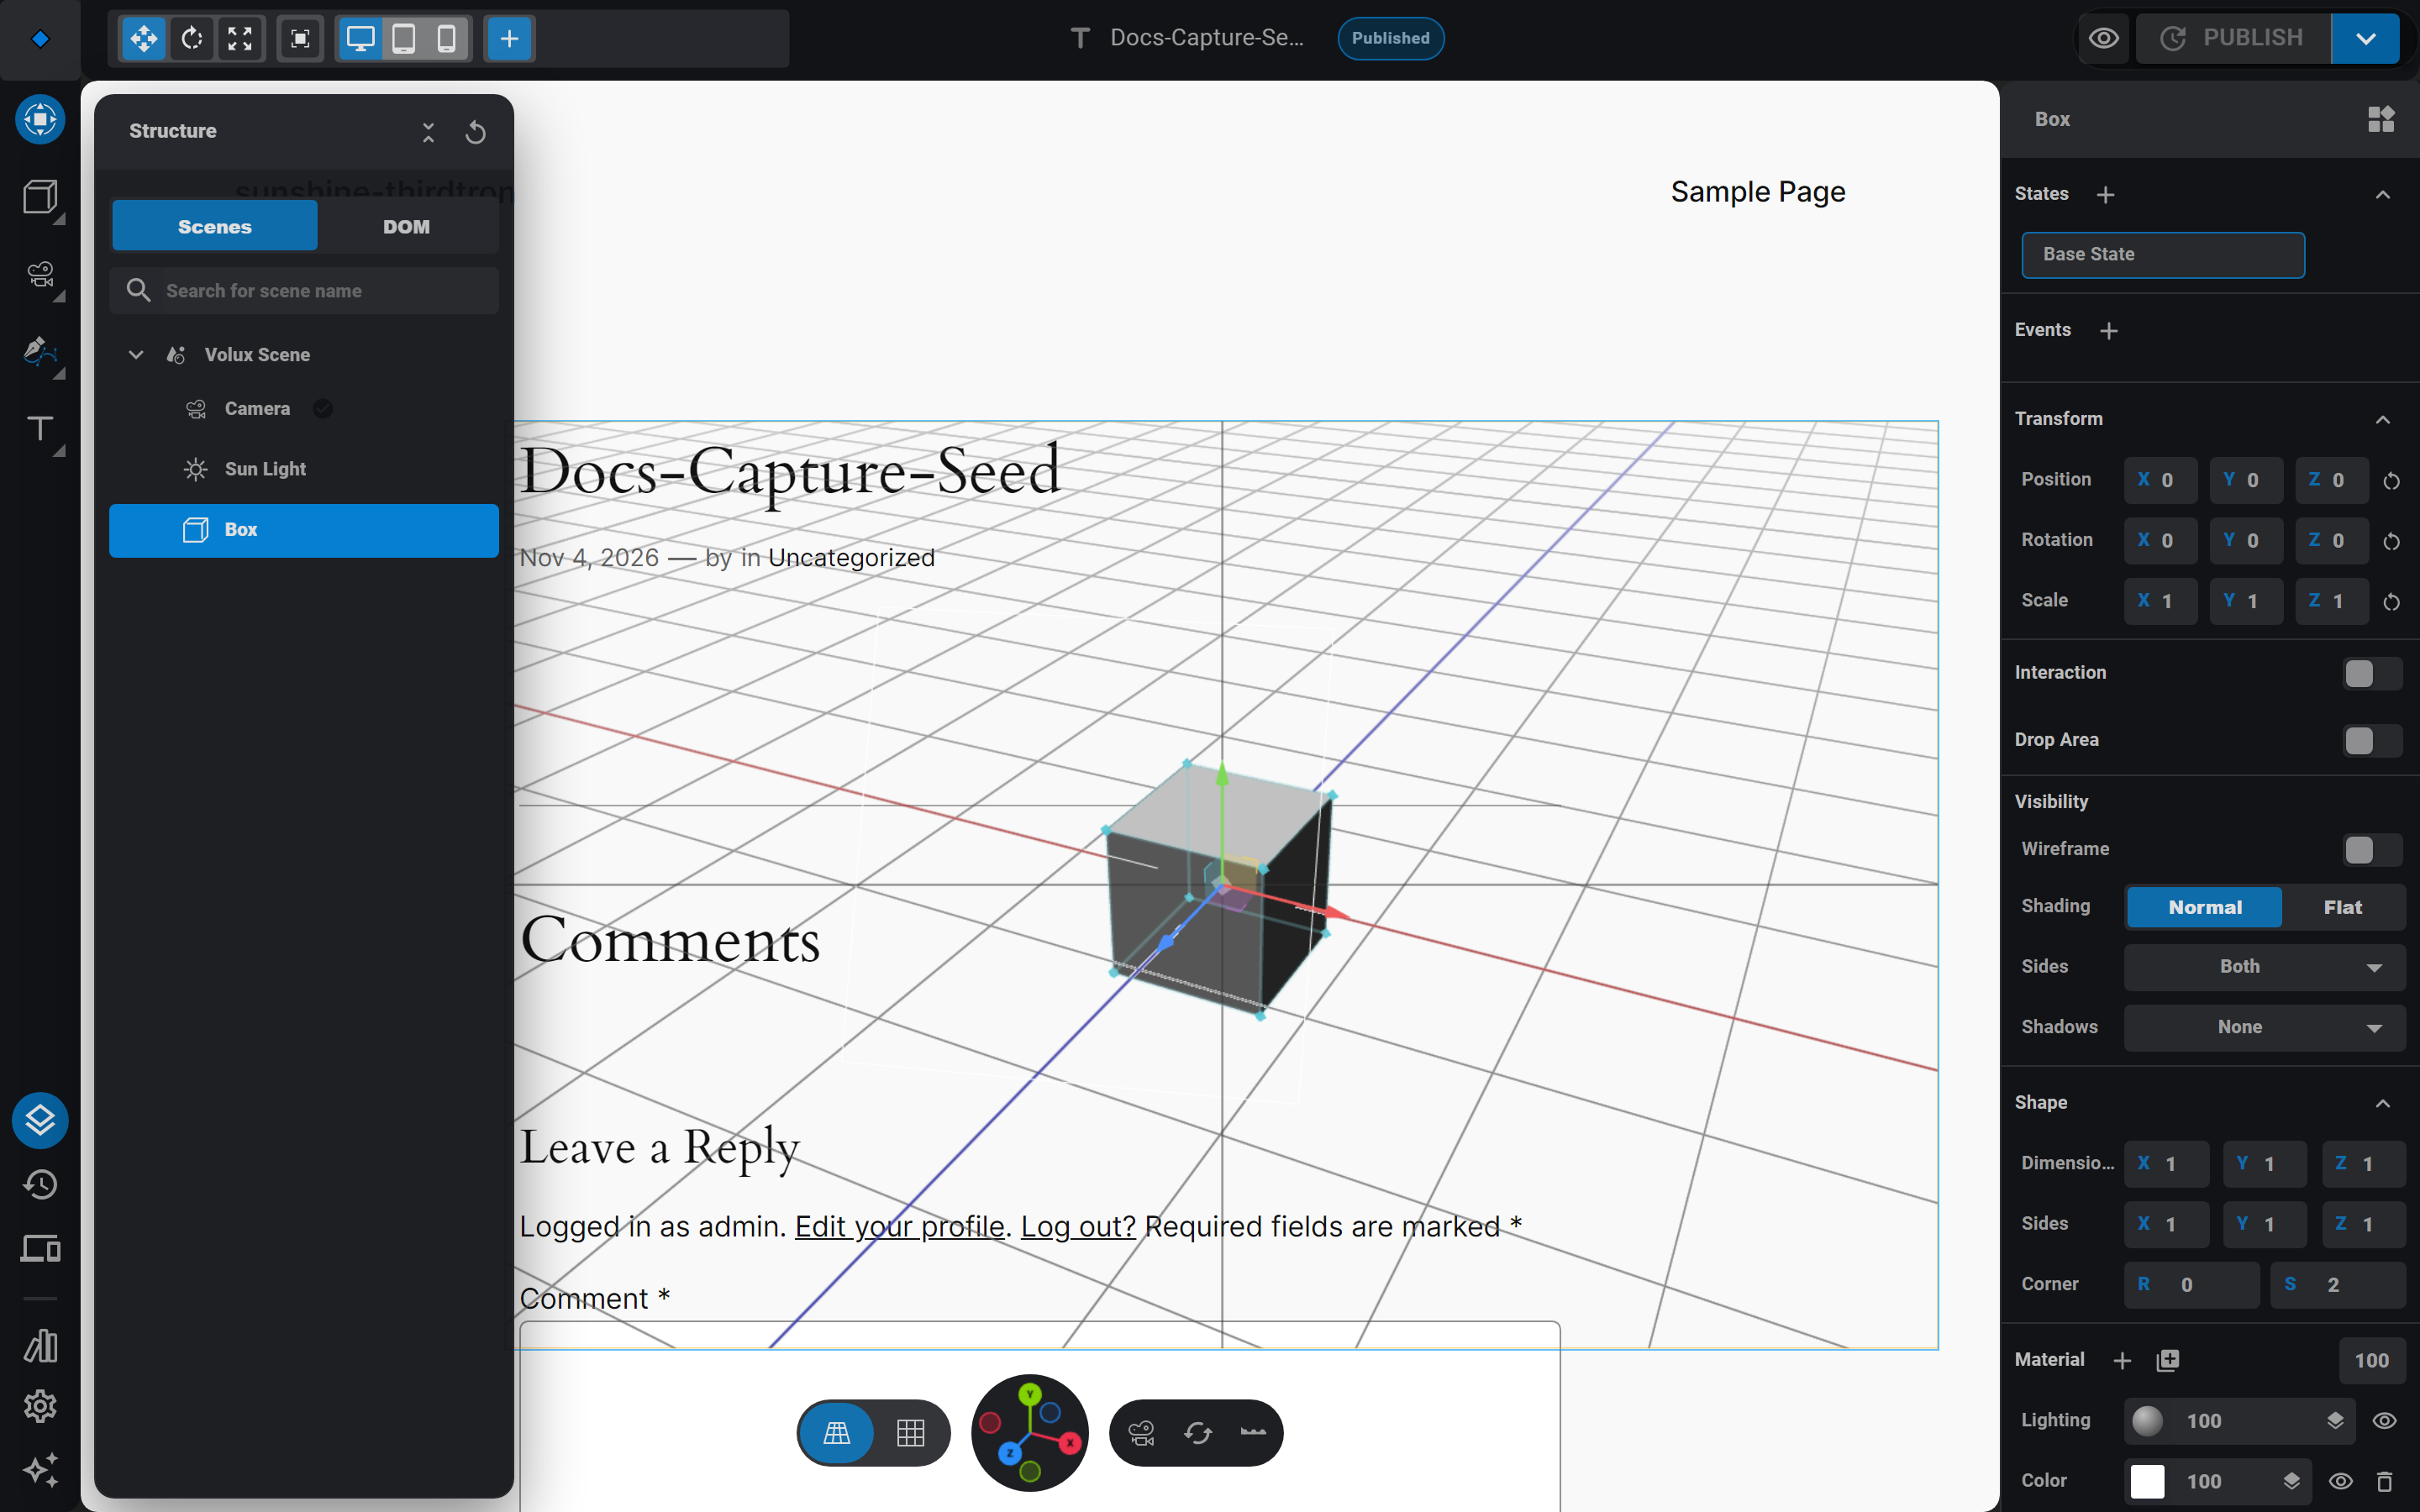
The Box selected in the scene tree - Drag the gizmo arrows to move it, or edit Position / Rotation / Scale in the Transform section on the right.
4. Apply a material layer
Materials are stacks of layers that blend top-down. Every object starts with a Lighting and a Color layer.
- With the Box still selected, scroll the right panel to the Material section and click the + button.
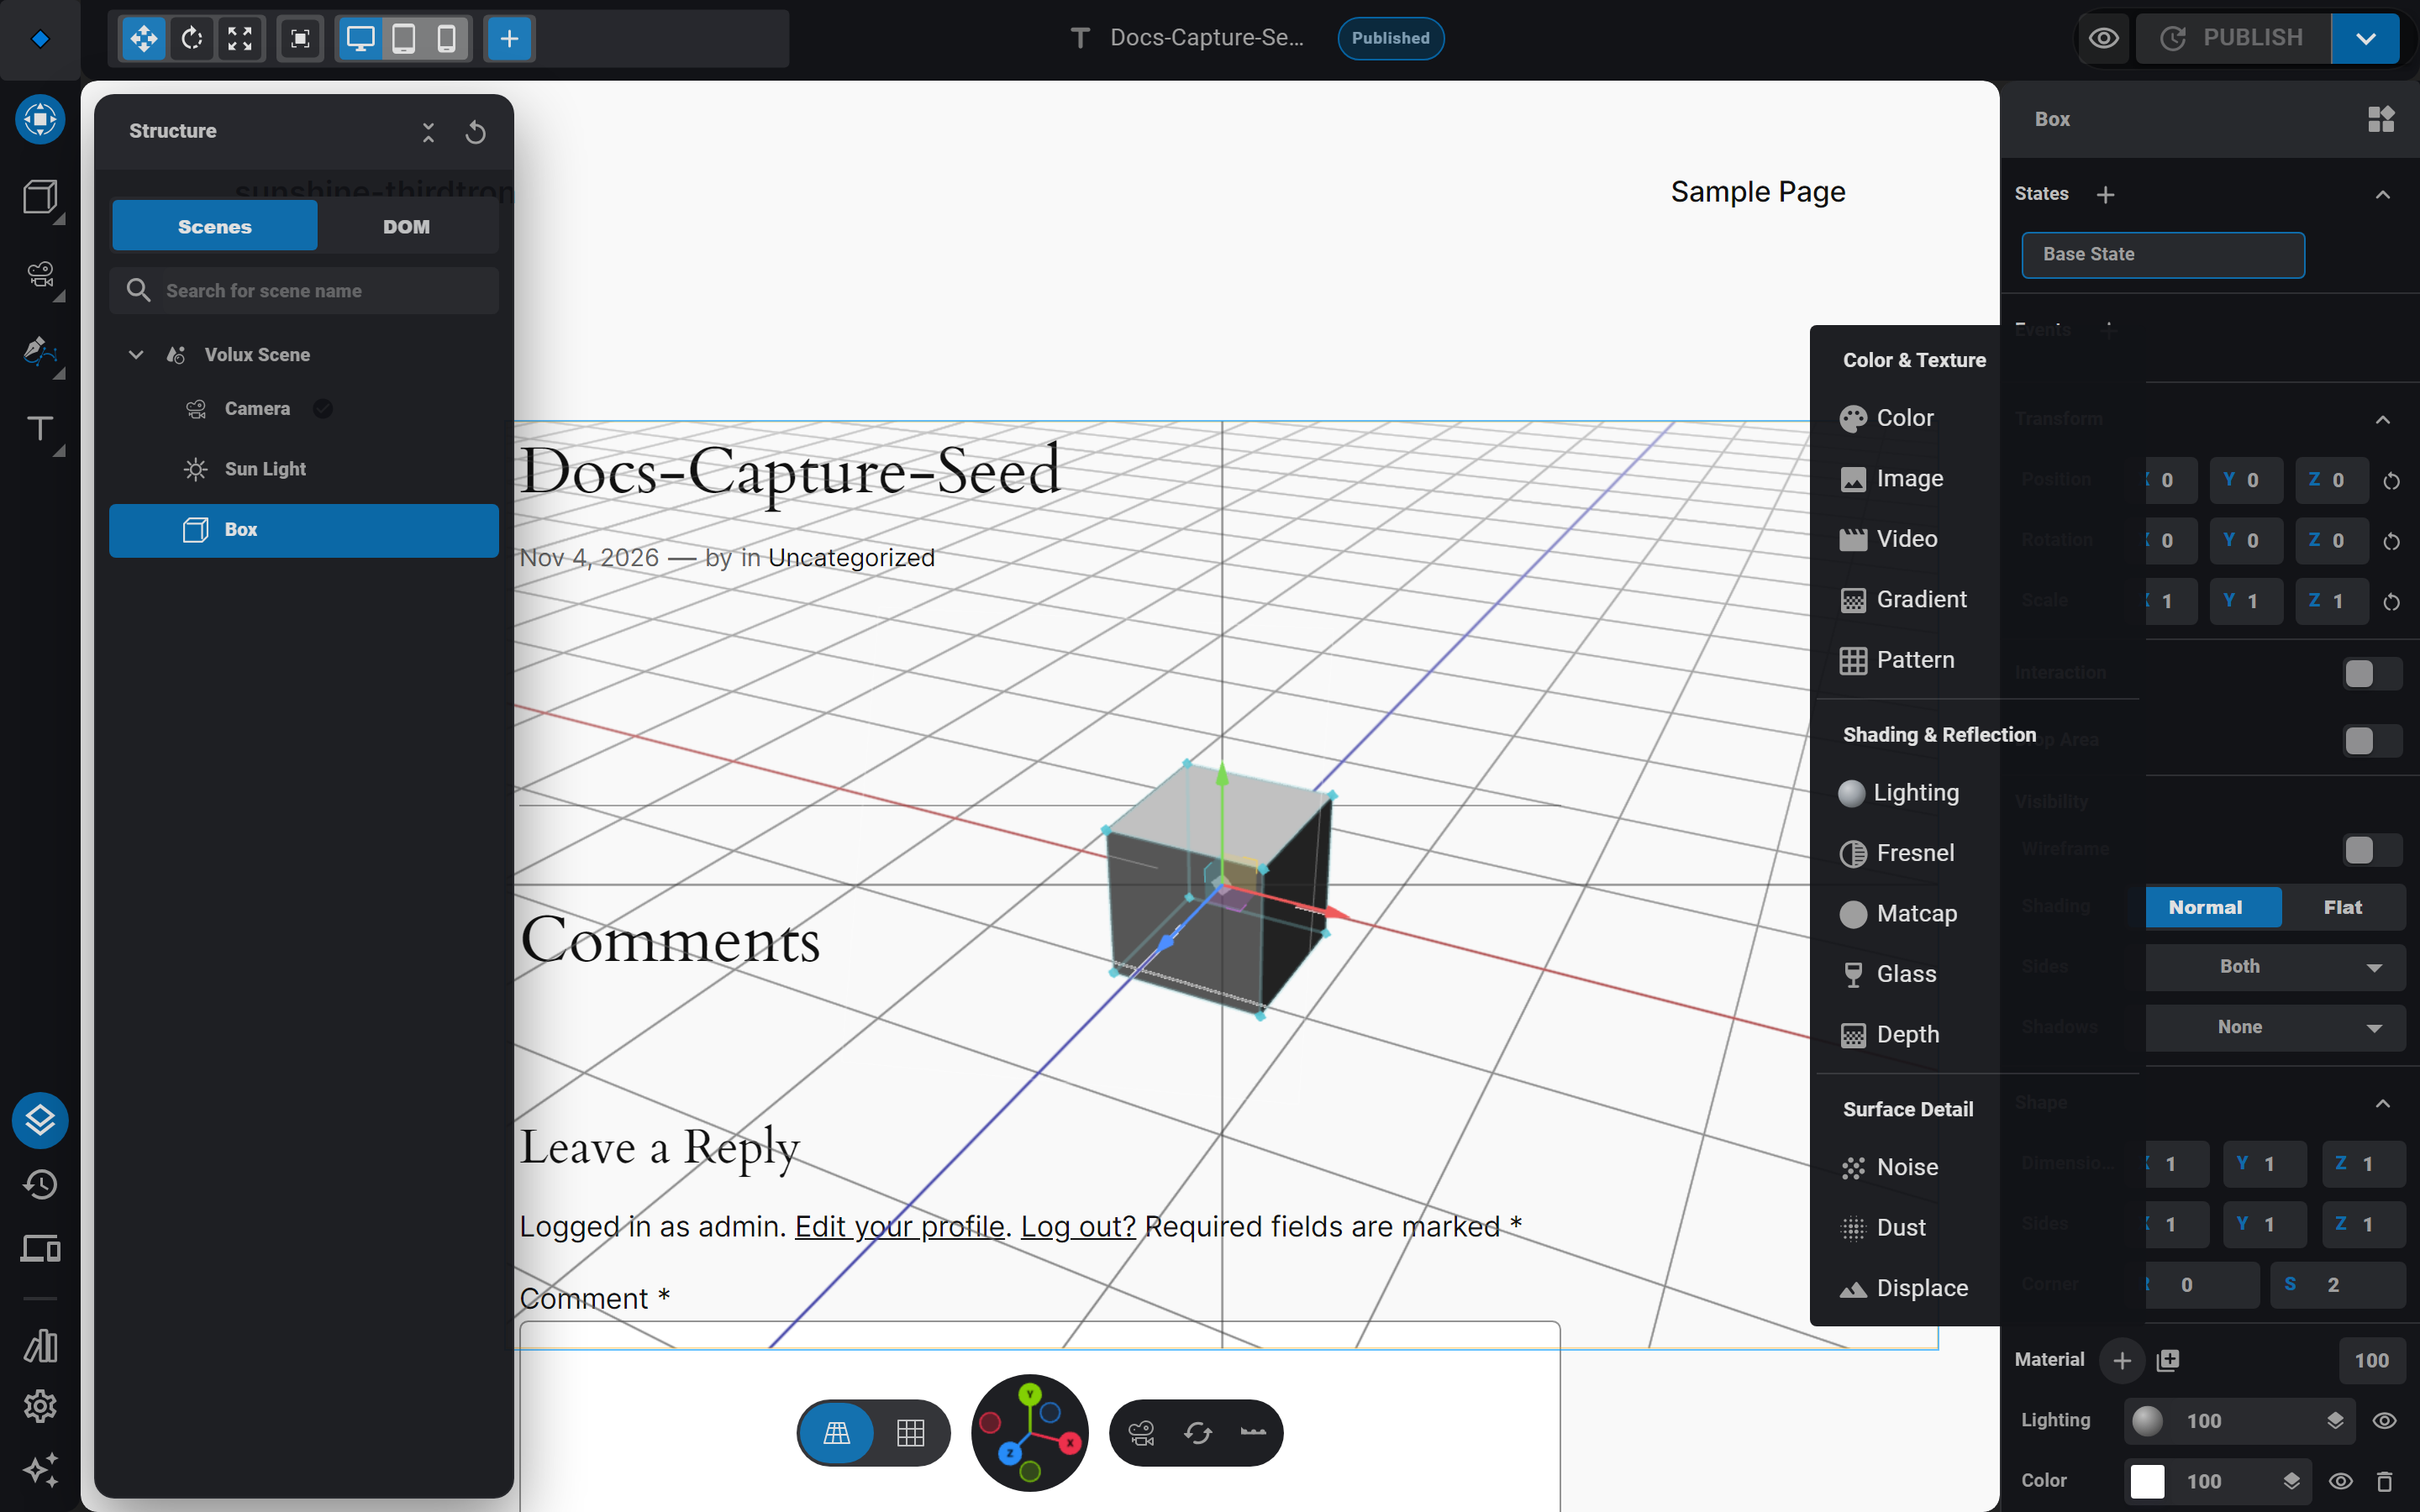
The Add material layer menu - Pick a layer kind — Color tints the surface, Image maps a texture, Noise and Gradient generate patterns, Glass flips the object to physical lighting.
- Each layer carries its own controls and blend mode; the eye icon toggles its contribution and the number sets its strength.
5. Add and aim a light
- Every scene already has a seeded sun. Click Sun Light in the structure tree to select it — the Light section on the right exposes type, color, and intensity.
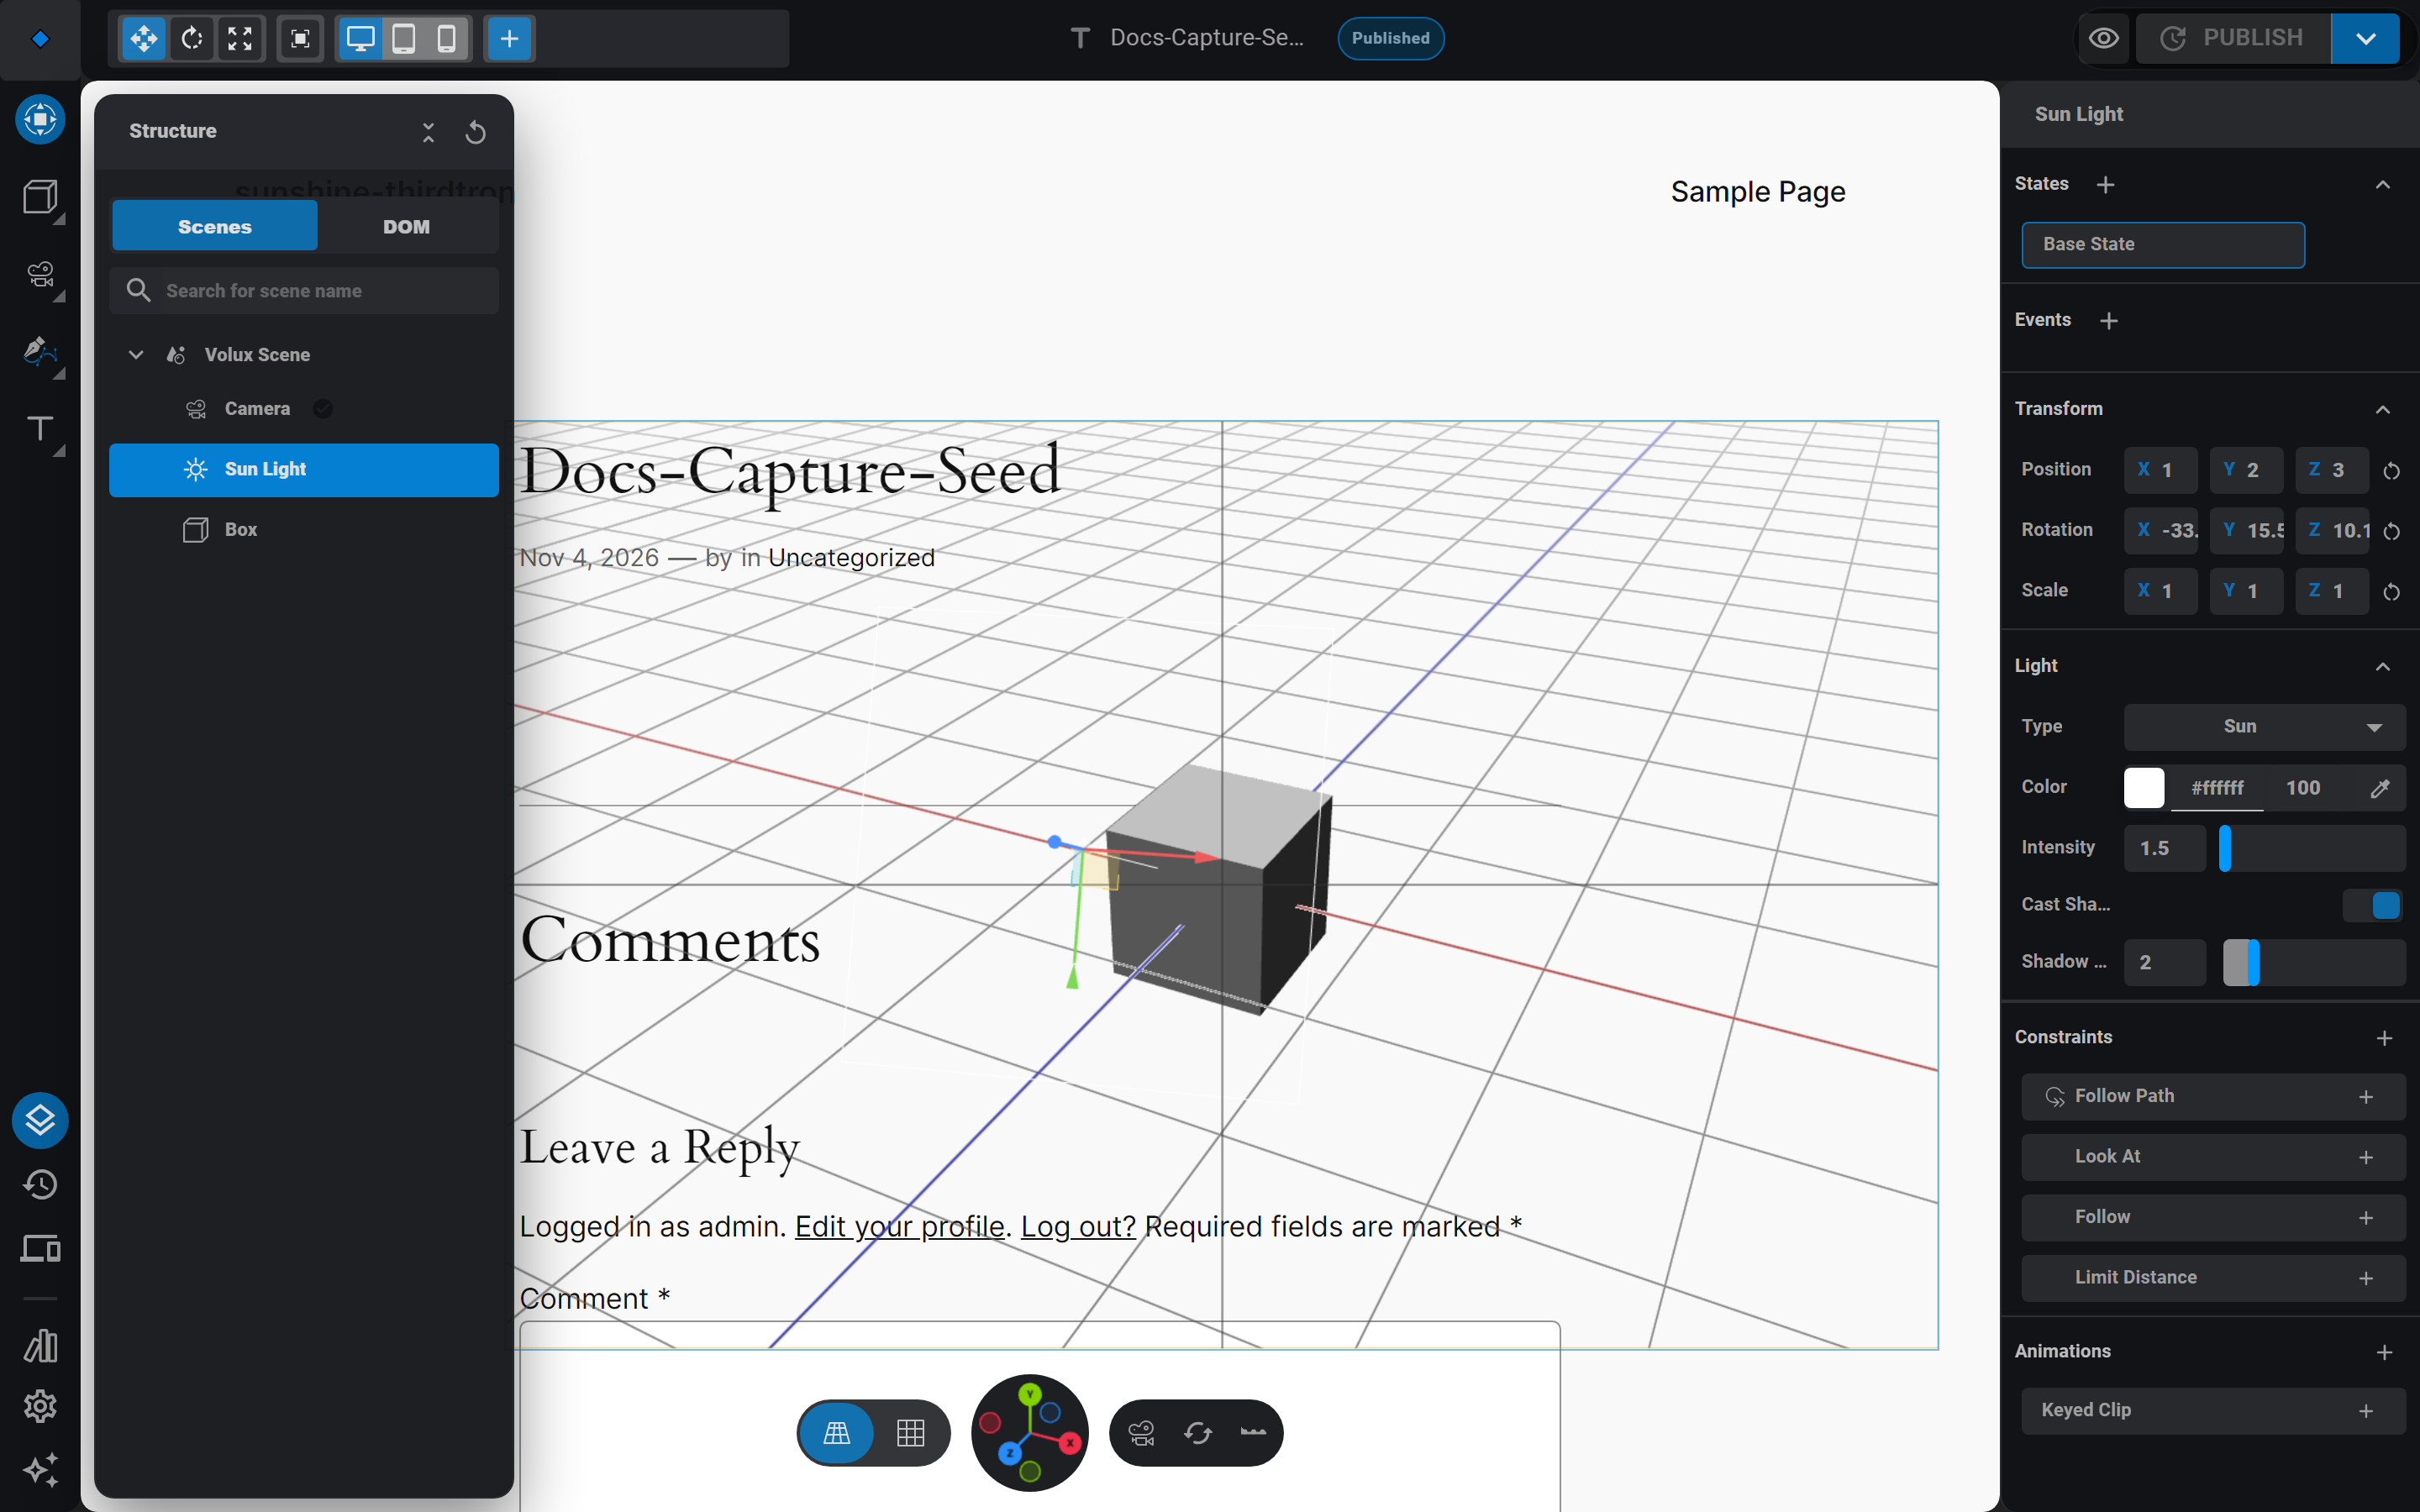
The seeded Sun Light and its Light section - Need more? Click Objects in the left rail and pick Point, Sun, Spot, or Area.
- Sun and spot lights aim along their local −Z axis — select the light and rotate the gizmo to point it at your subject.
6. Position the camera
- Select the seeded Camera in the structure tree and move it with the gizmo like any object.
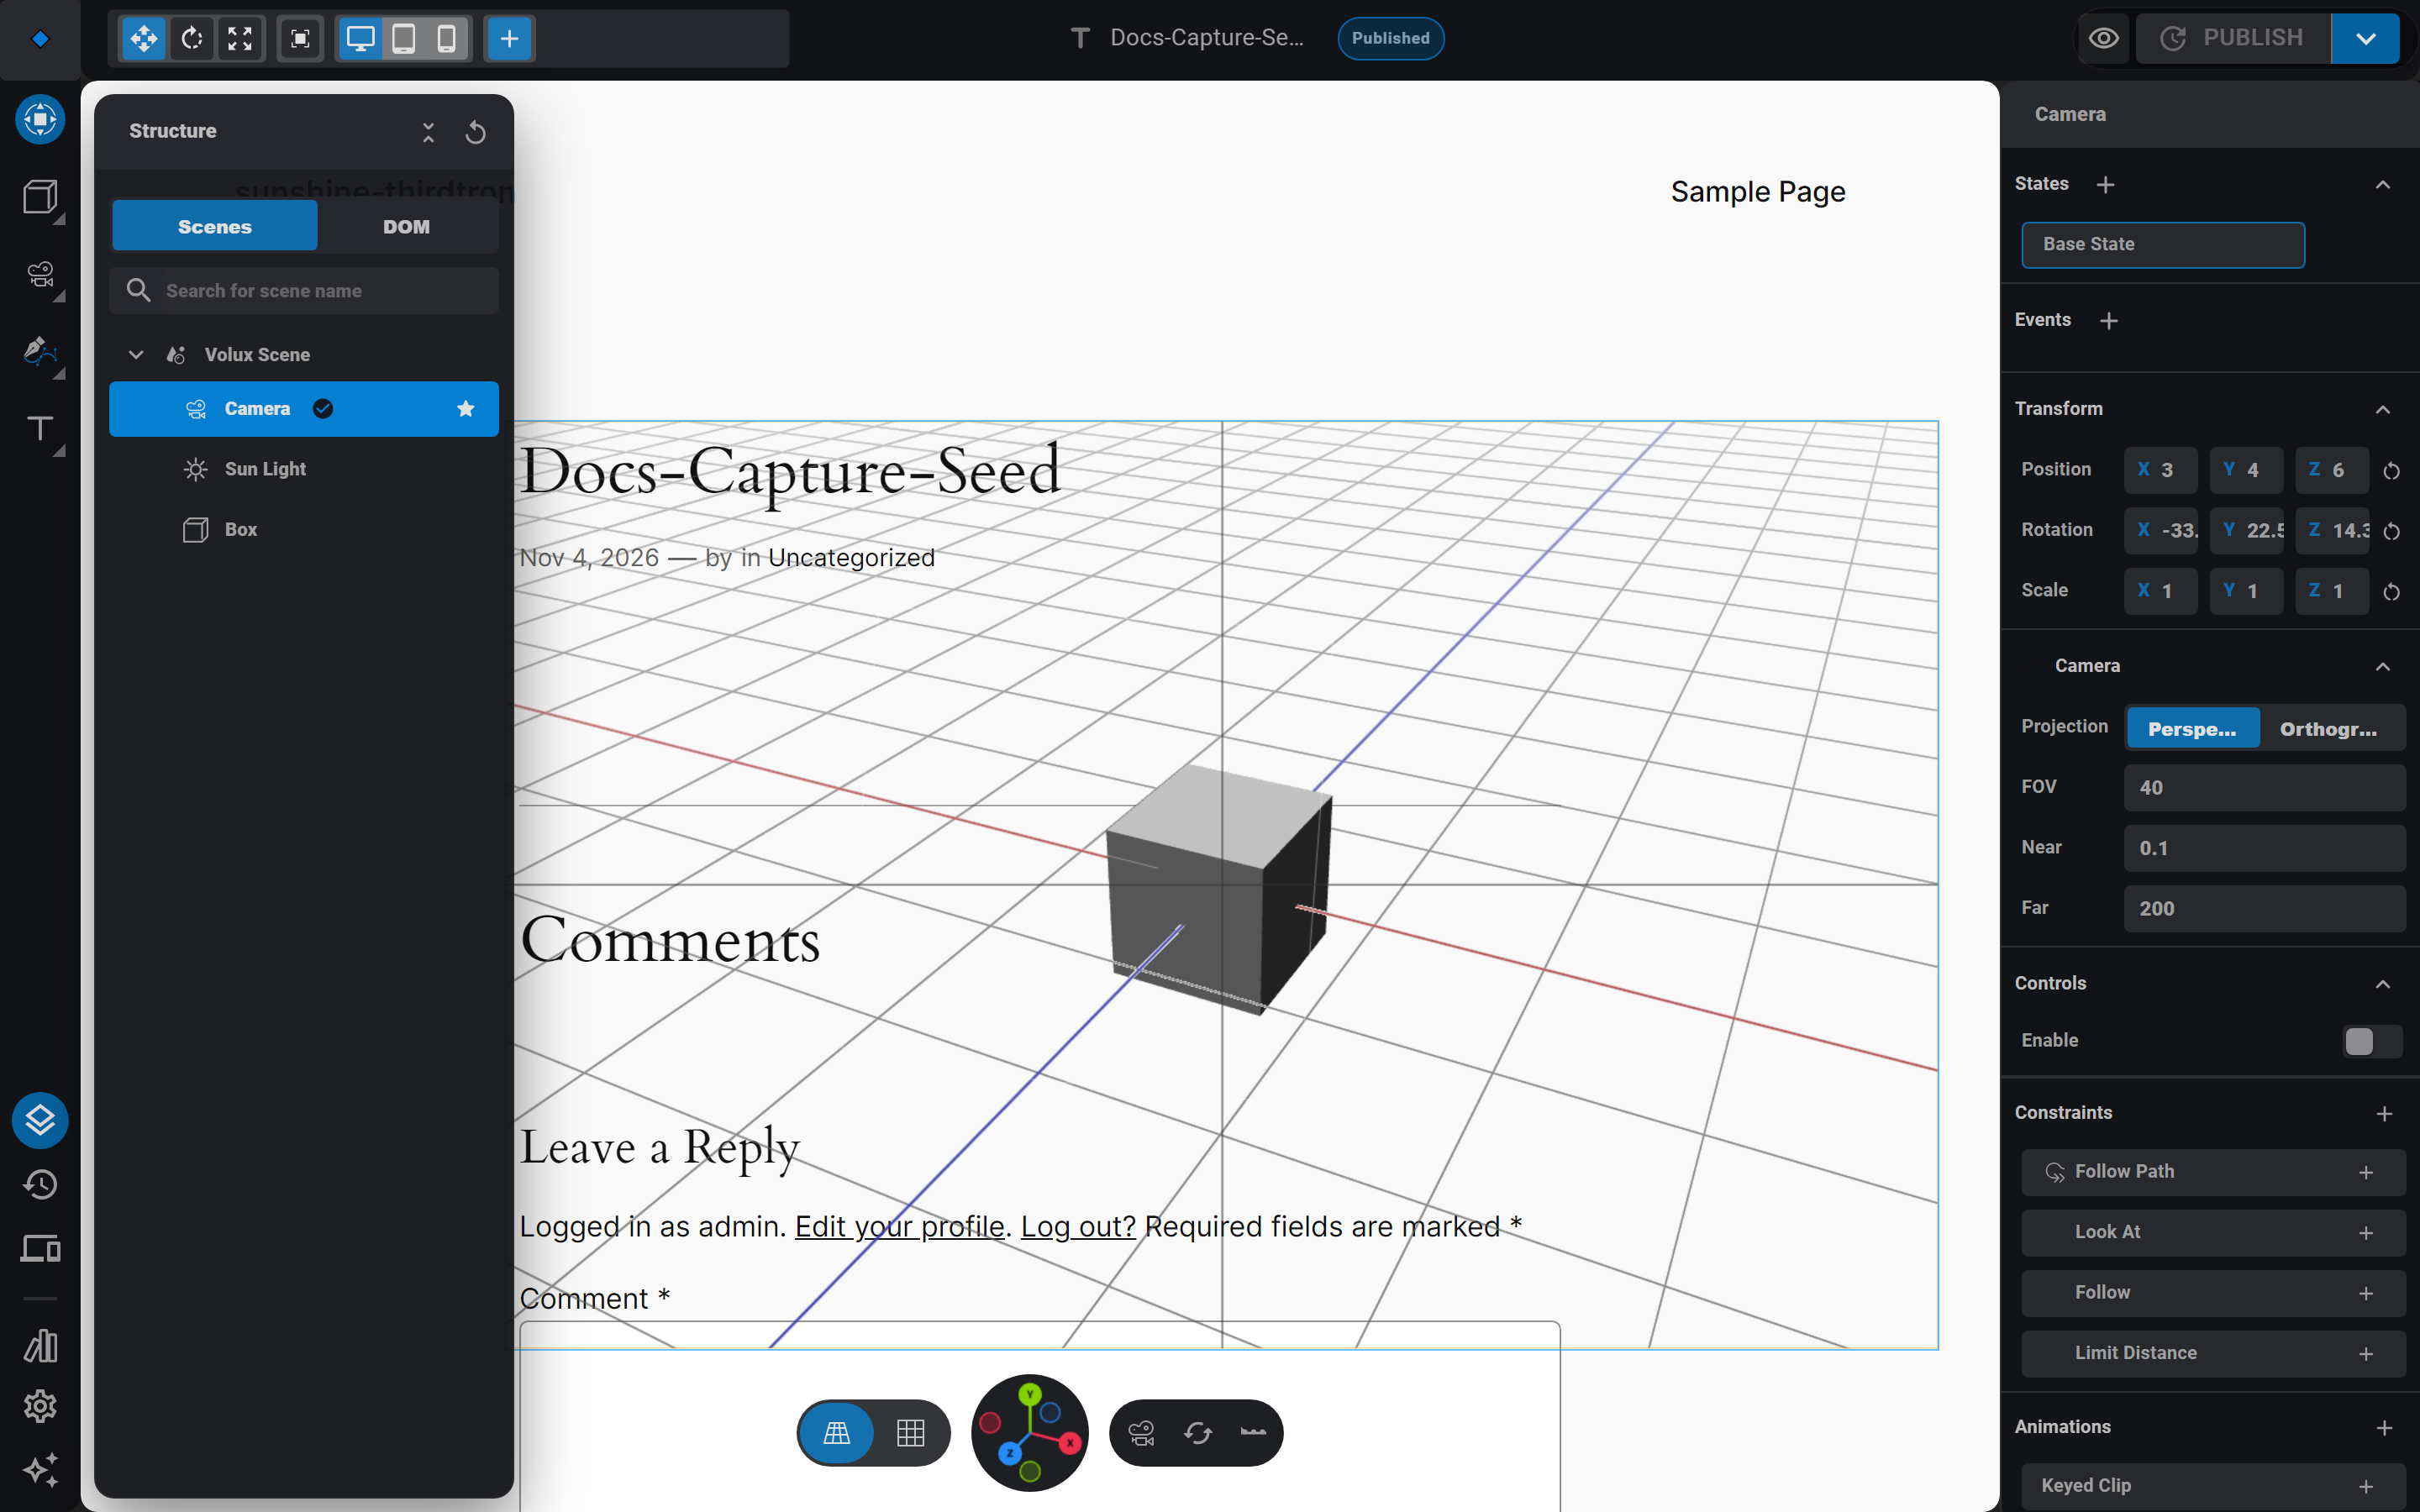
The Camera object and its settings - To frame a tricky angle, navigate freely in the viewport, then right-click the camera and choose Set as default camera — visitors see the scene through it.
- A scene can hold several cameras; the public page renders through the one marked as default.
7. Add a click event
- Select the Box again and find the Events section at the top of its panel. Click +.
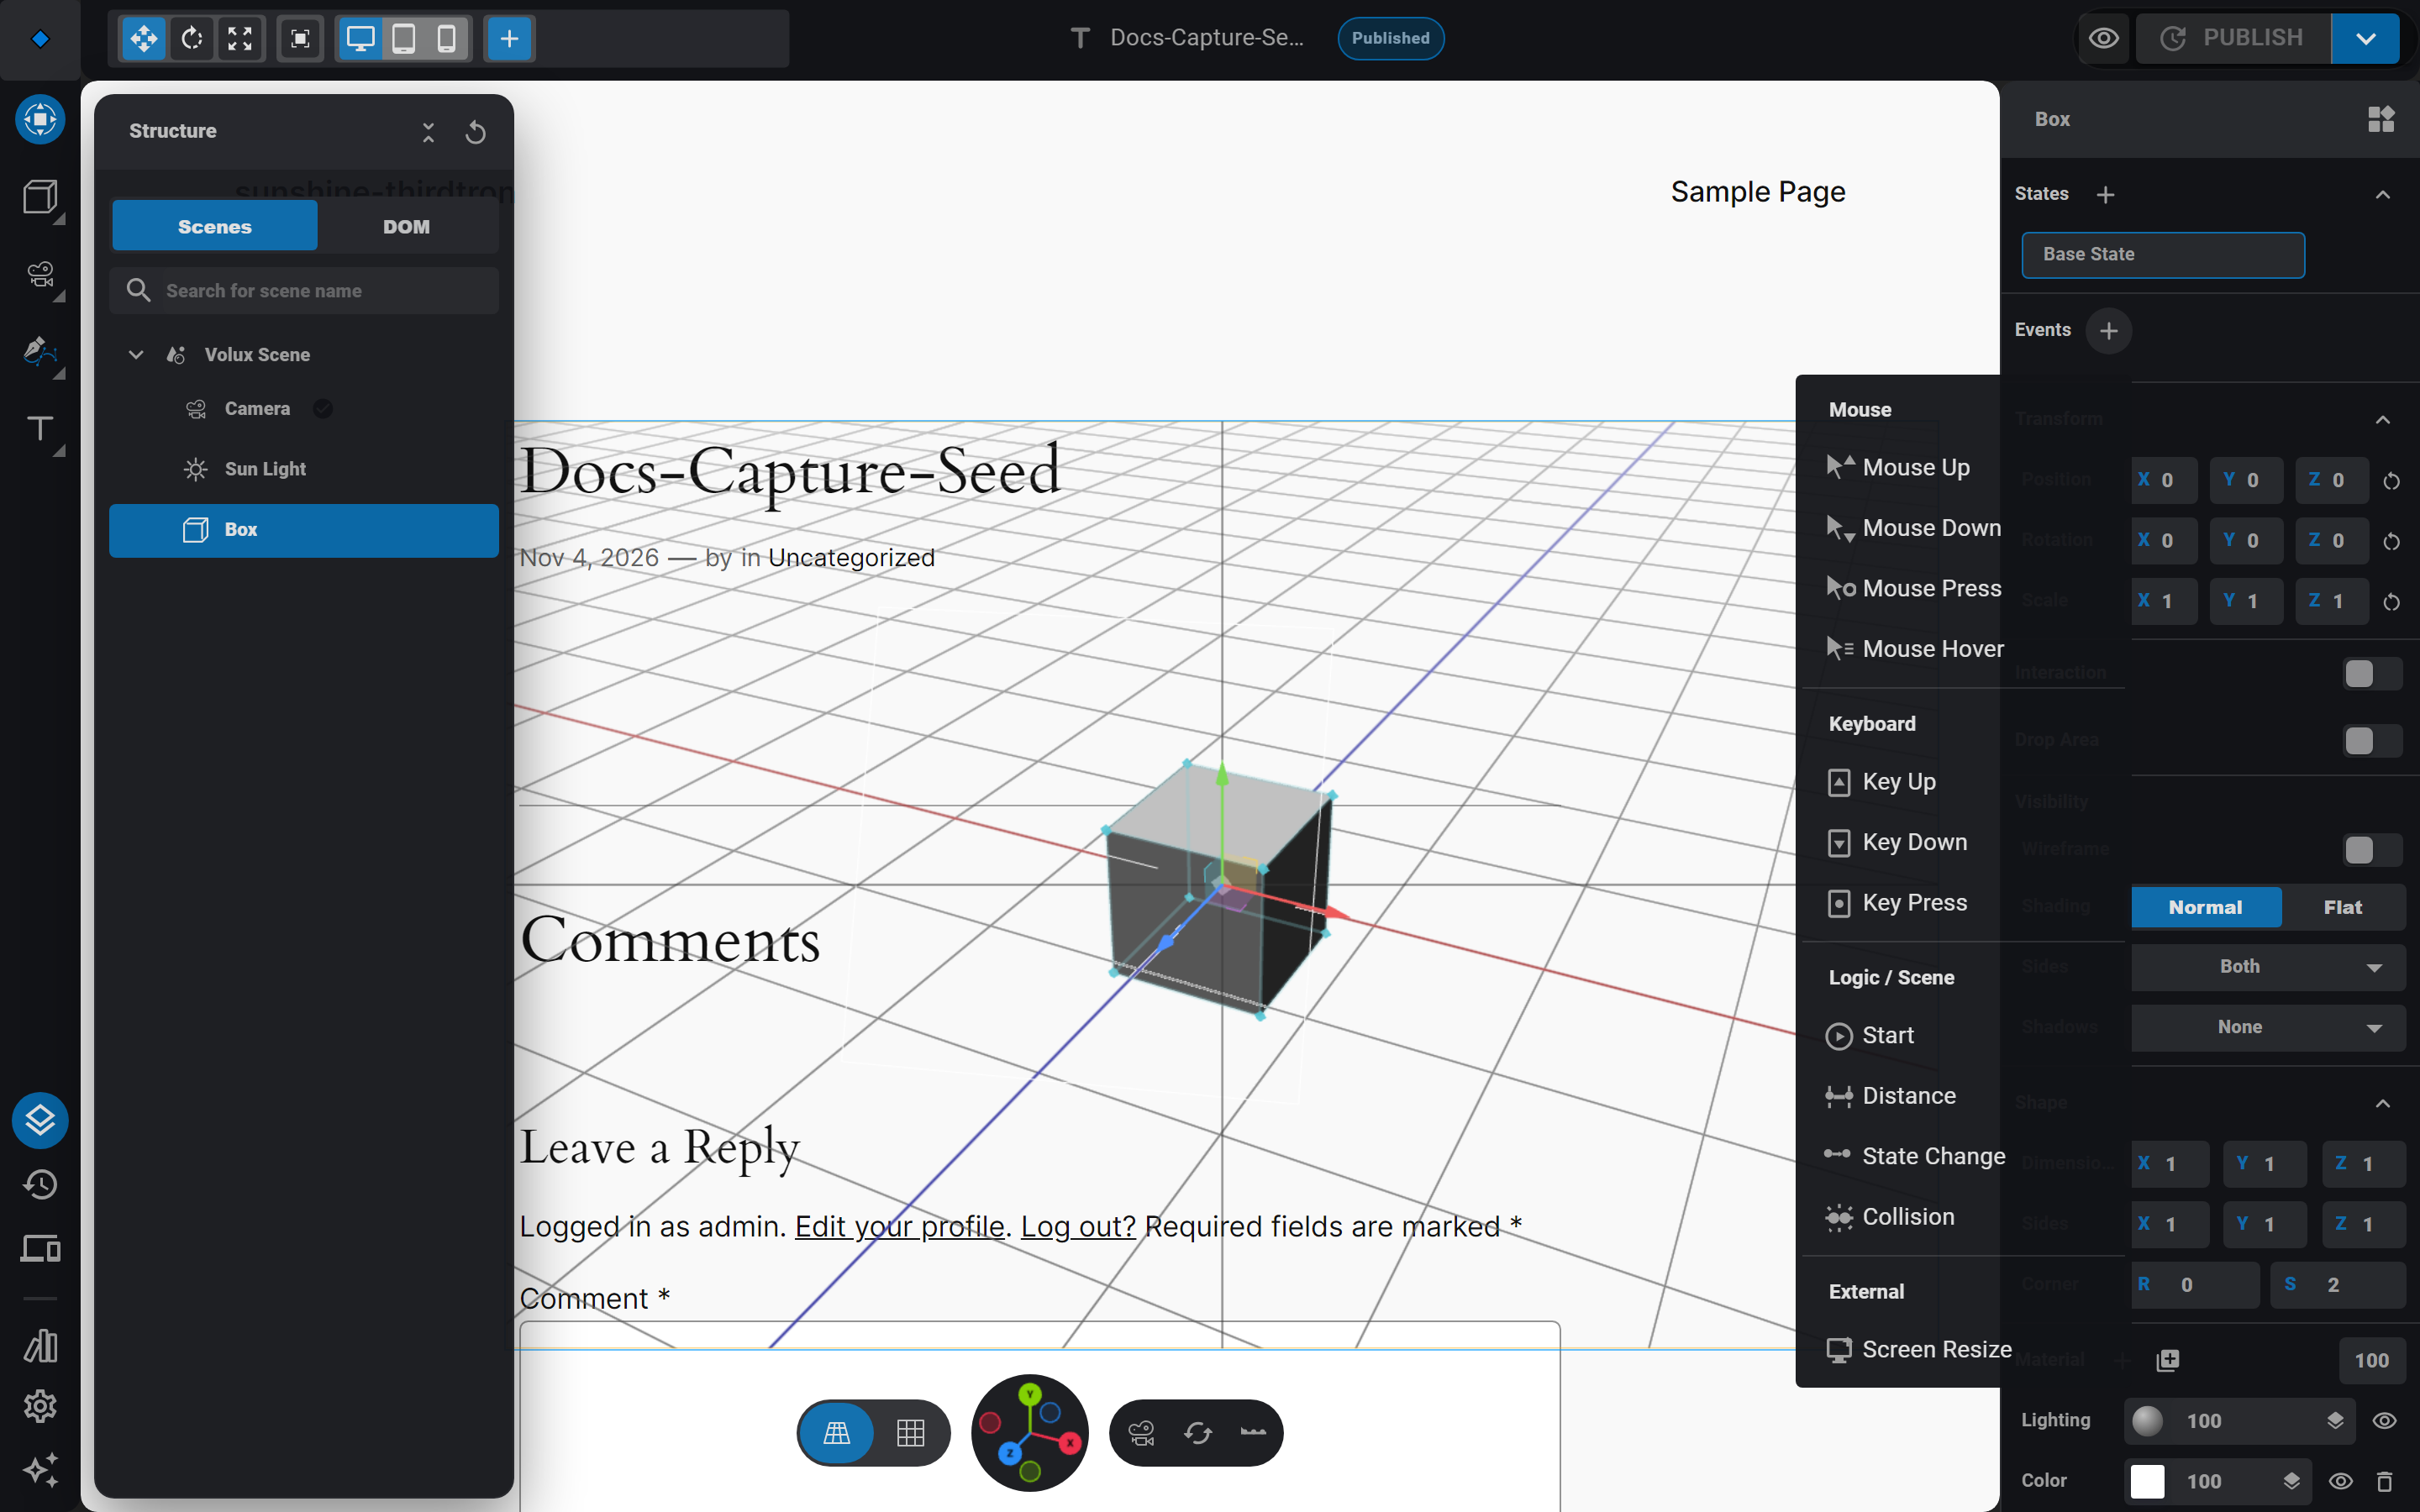
The event type menu - Pick Mouse Up — the click trigger. The event editor opens where you stack the actions the click performs.
- Add an action such as Transition (tween a state change), Open Link, or Switch Camera.
Events run on the public site
Interactions fire for visitors, not inside the editor. Verify them on the frontend in the last step.
8. Link the scene to an element
A scene renders on the public page inside a page element — a hero div, a banner, the body itself. No link, nowhere to render: an unlinked scene never appears on the public site.
- Select the scene itself — click Volux Scene in the structure tree.
- In the scene panel on the right, find the Structure section and the Linked element row. Click the pick button at its right end.
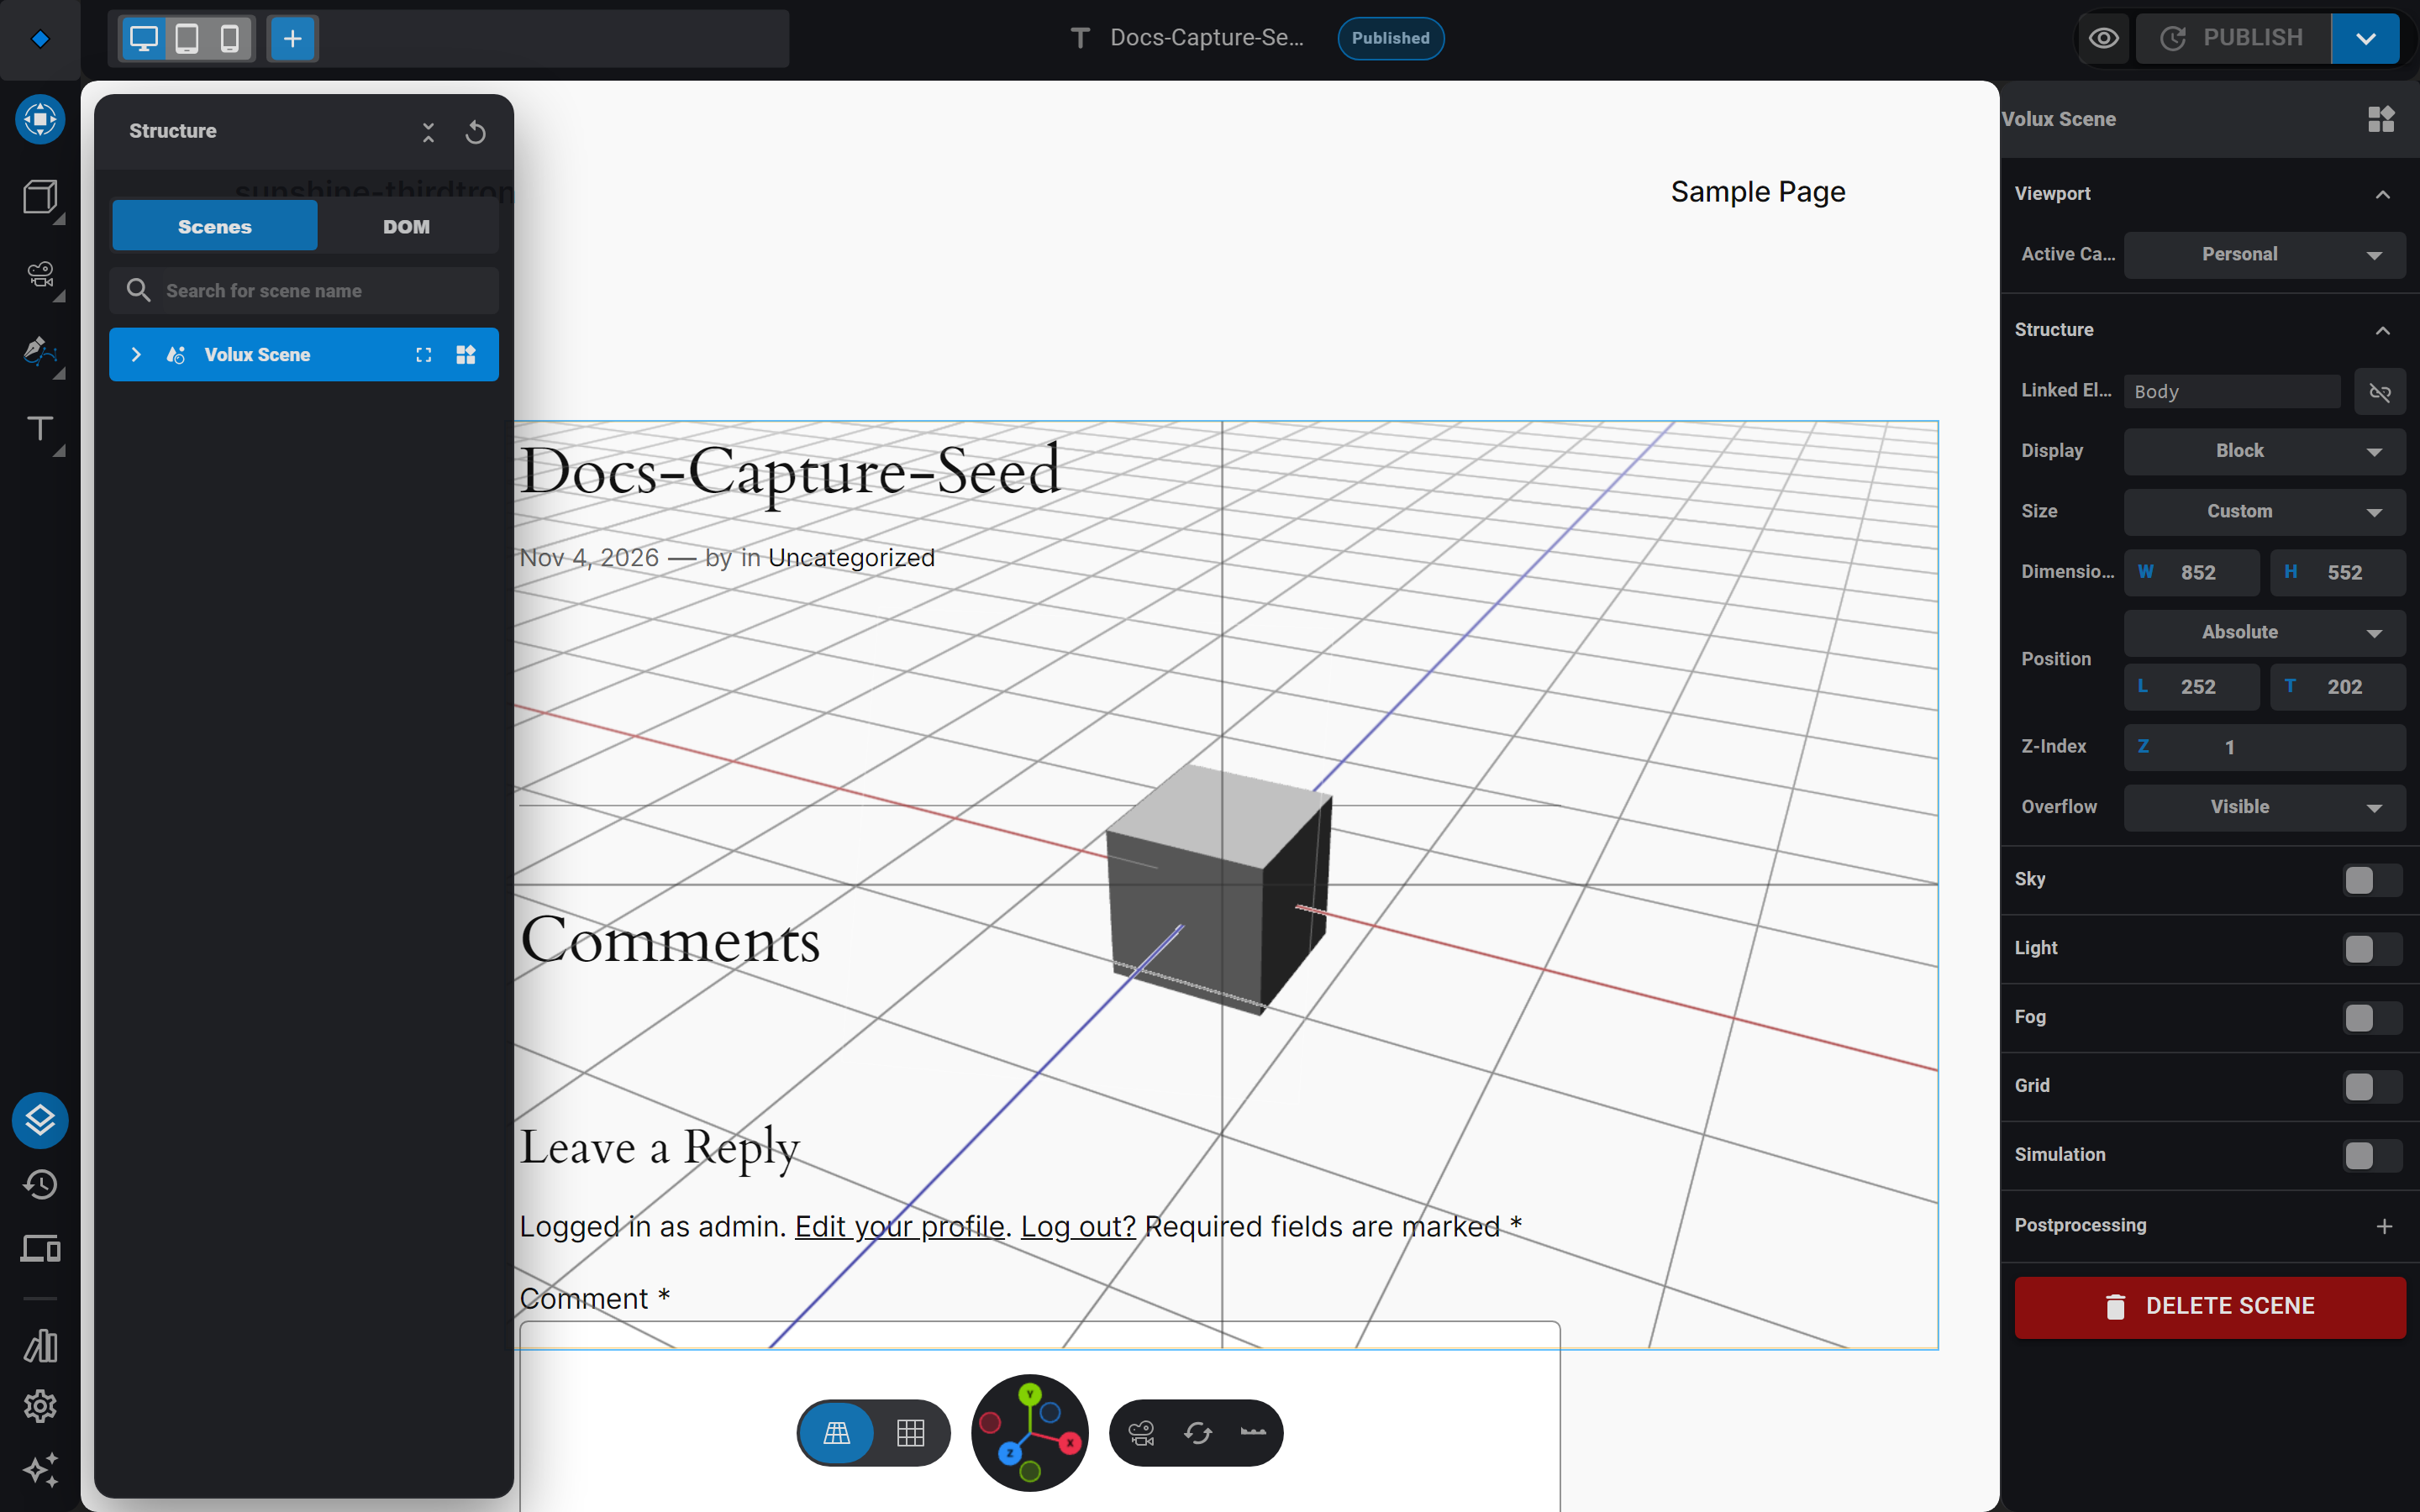
The scene's Structure section with the linked-element pick - Hover the preview: page elements highlight. Click one — the scene now renders inside it.
9. Publish
- Click PUBLISH in the header. An already-published document shows an update icon instead — same click.
- The arrow next to it holds Save Draft and Save as Template for the other moments.
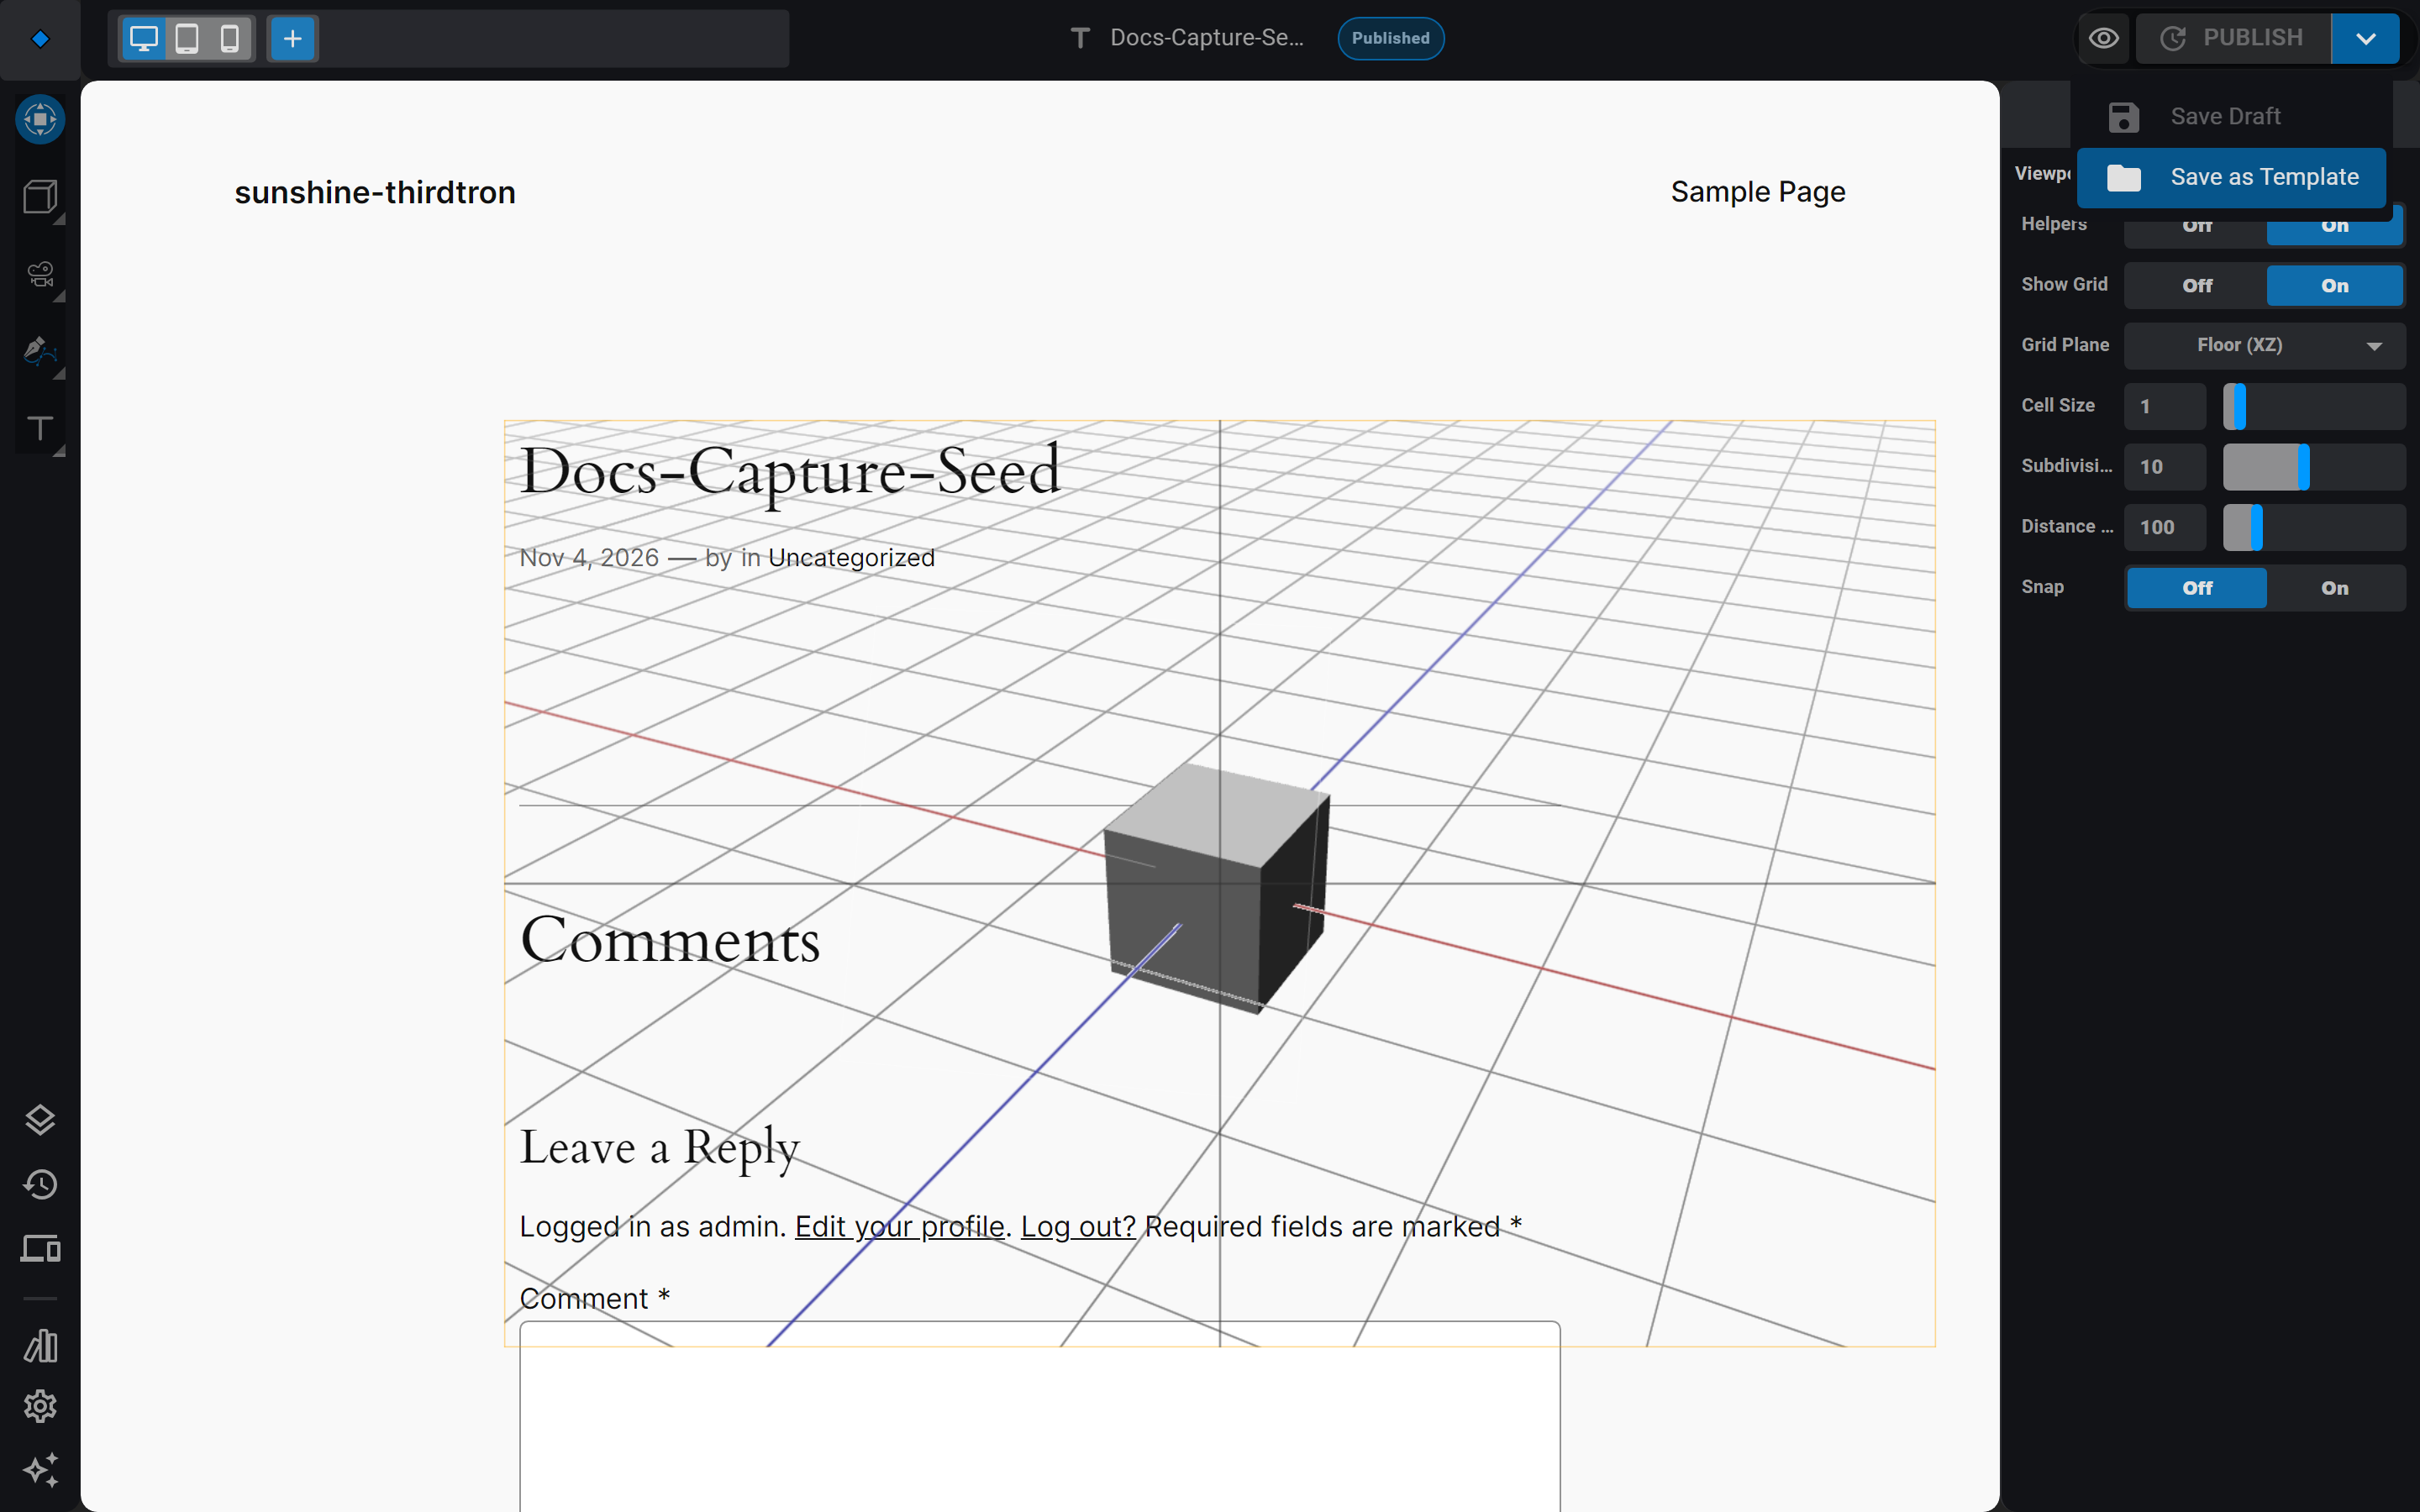
The PUBLISH split button and its save options
10. View the frontend
- Click the eye icon (Preview) beside PUBLISH — it saves and opens the page the way visitors see it, or just open the post's permalink.
- The scene renders in its element, lit by your sun, framed by your camera. Click the box: your click event fires on the public page.
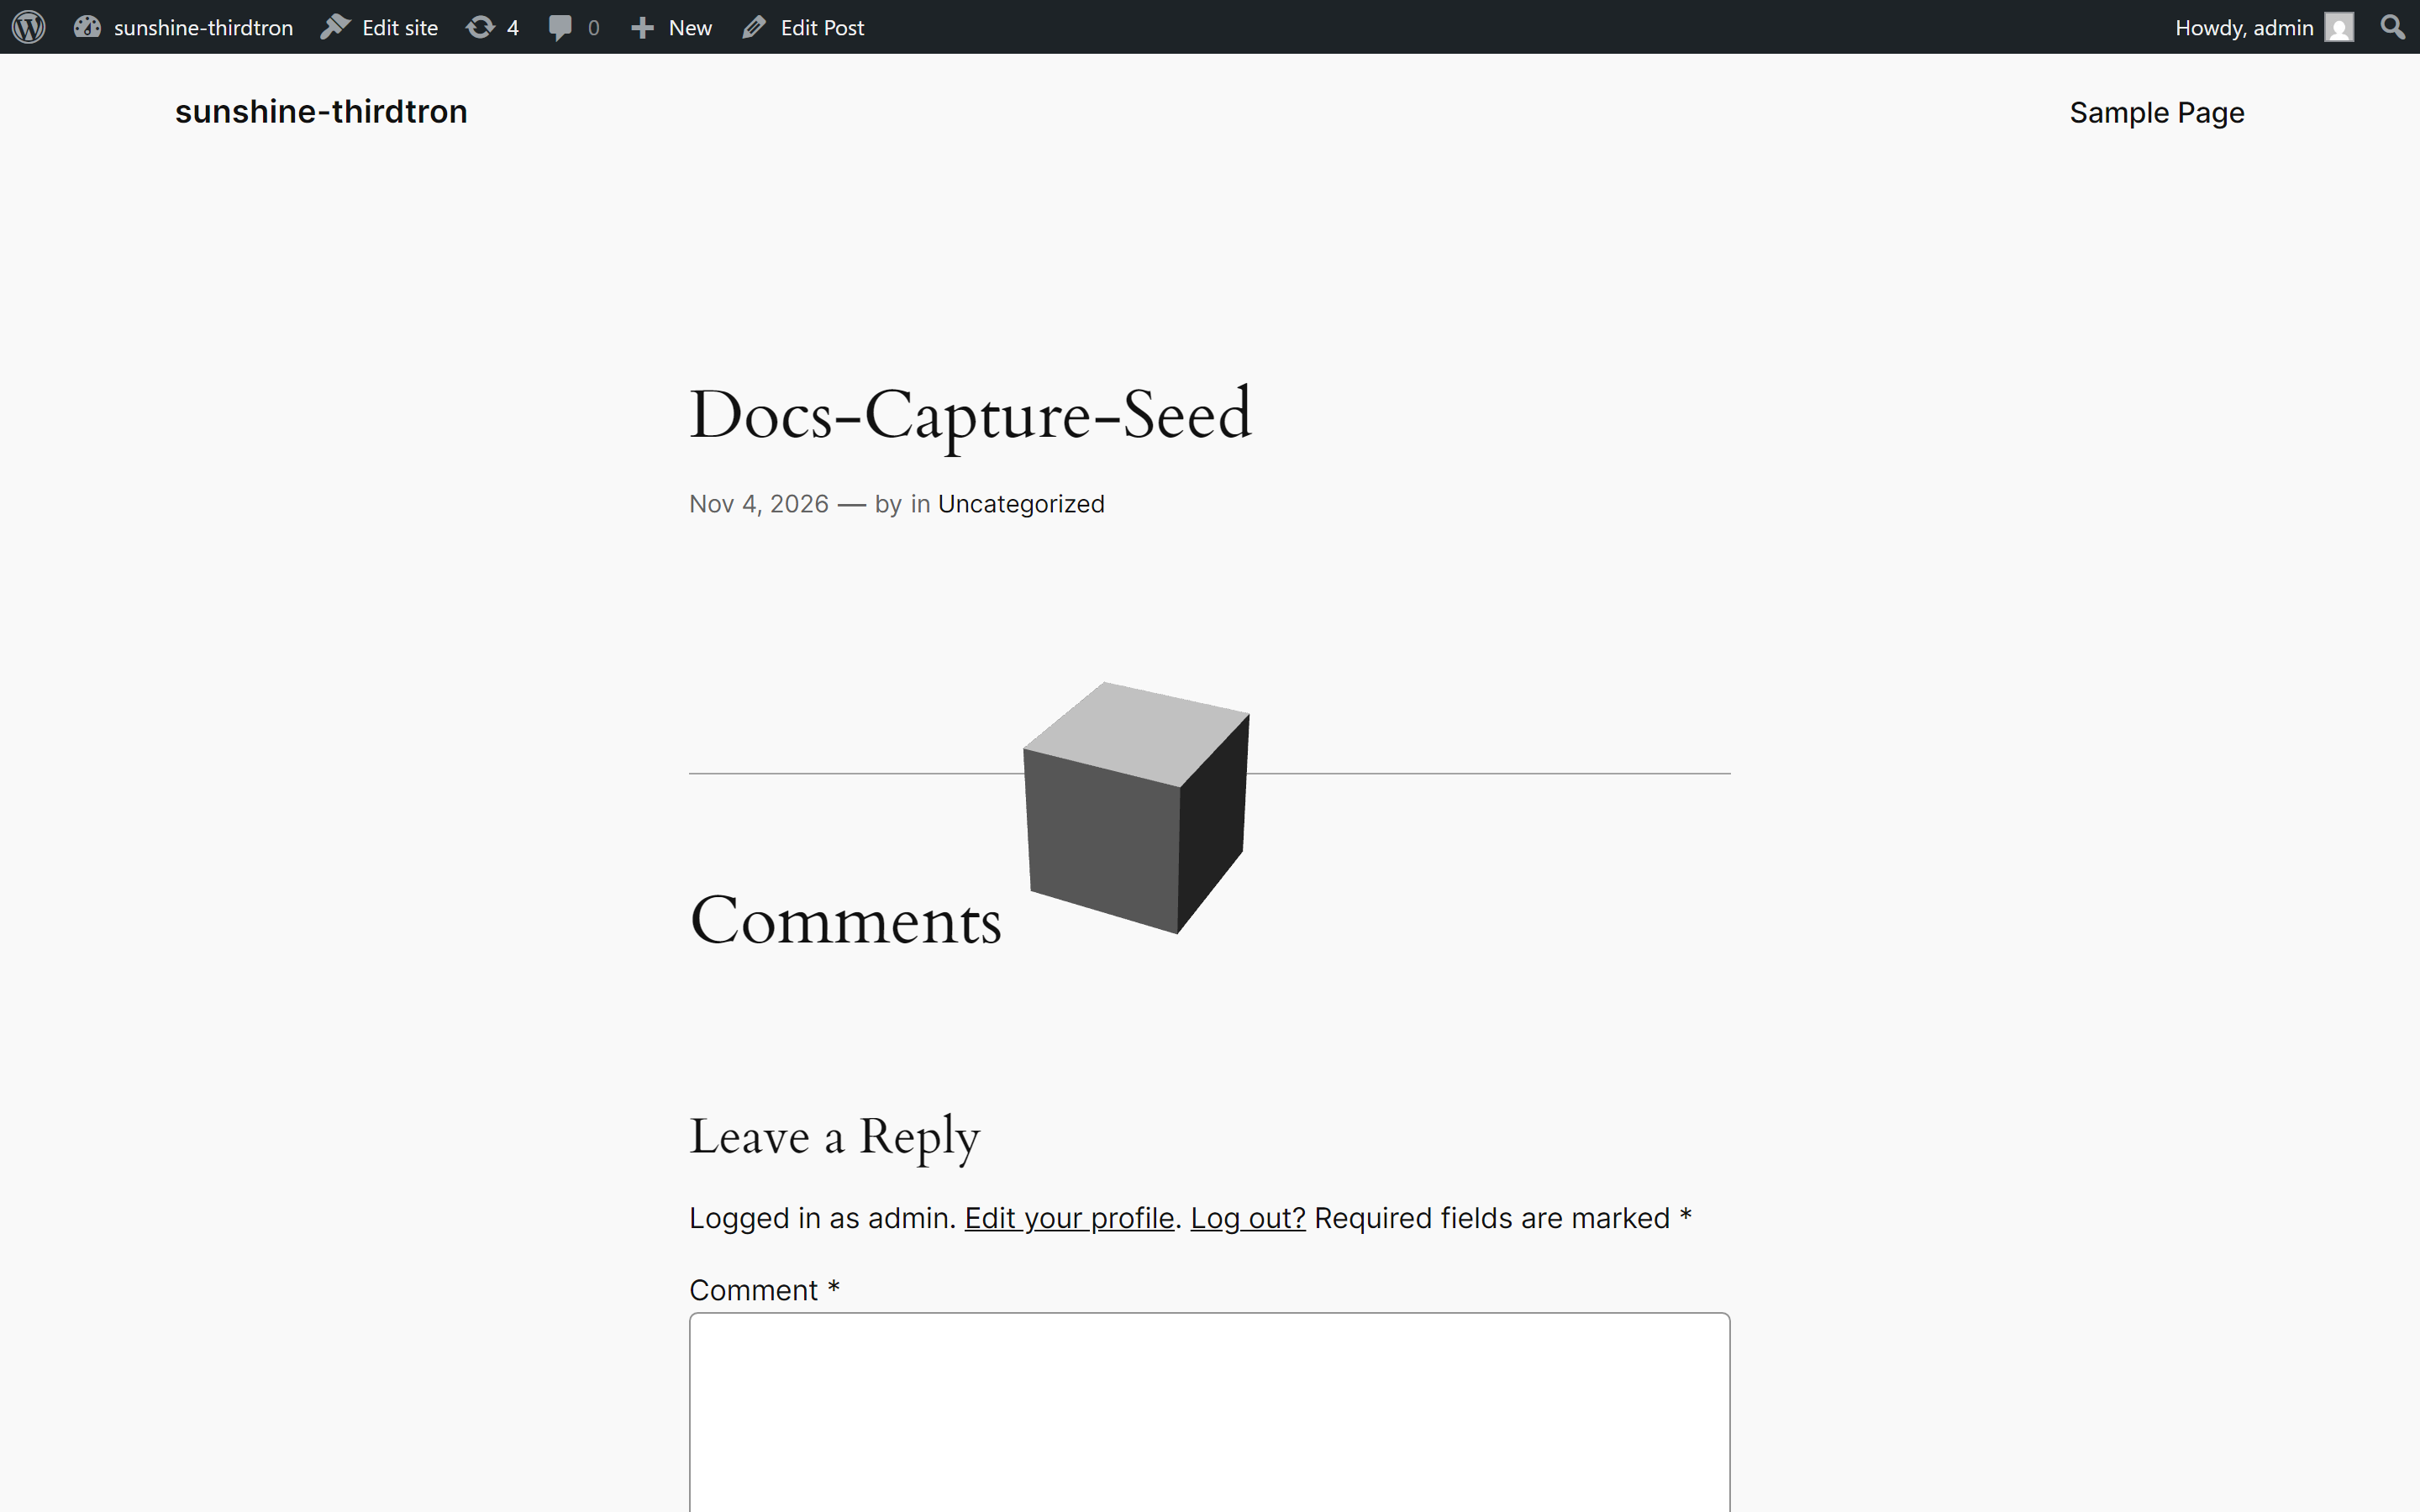
The published page with the live scene
Next
- Editor Tour — learn every panel you just touched.
- Documents & Scenes — how scenes, objects, and the document model fit together.
Activation & License
Activate your license key or Envato purchase code, and what the grace states mean.
Editor Tour
A guided walk through every region of the editor shell.
Last updated on